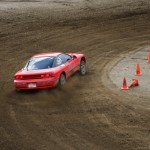
To get warmed up for this year’s season of NASA track days, I signed up for a Speed Ventures autocross at Auto Club Speedway in Fontana, California.
Speed Ventures hosts the autocross event on one of the infield parking lots at the same time as a track day event on the Roval course, a demanding circuit with a mix of high-speed banked sections on the NASCAR oval mixed with a more technical infield course.
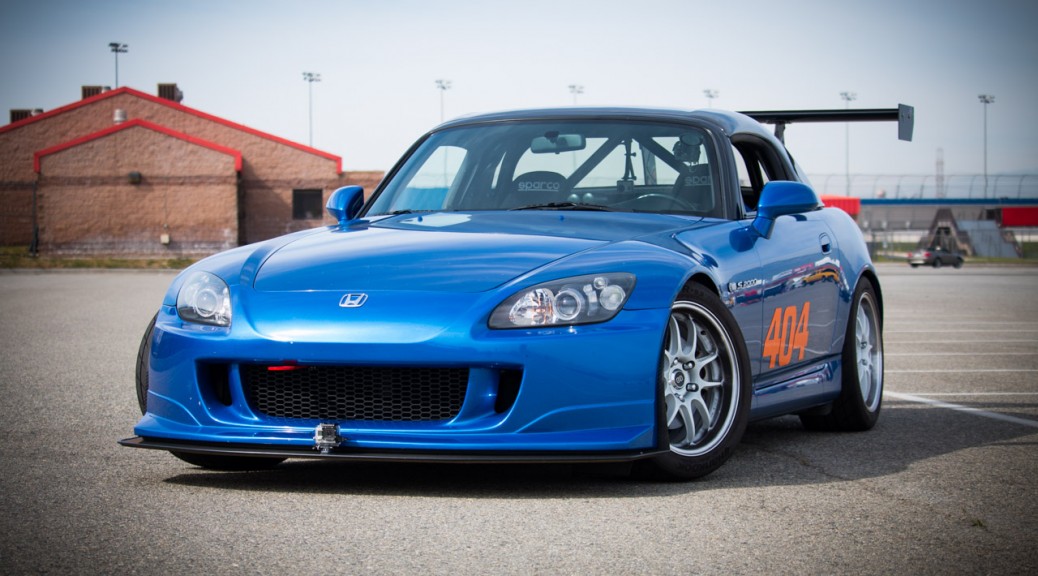
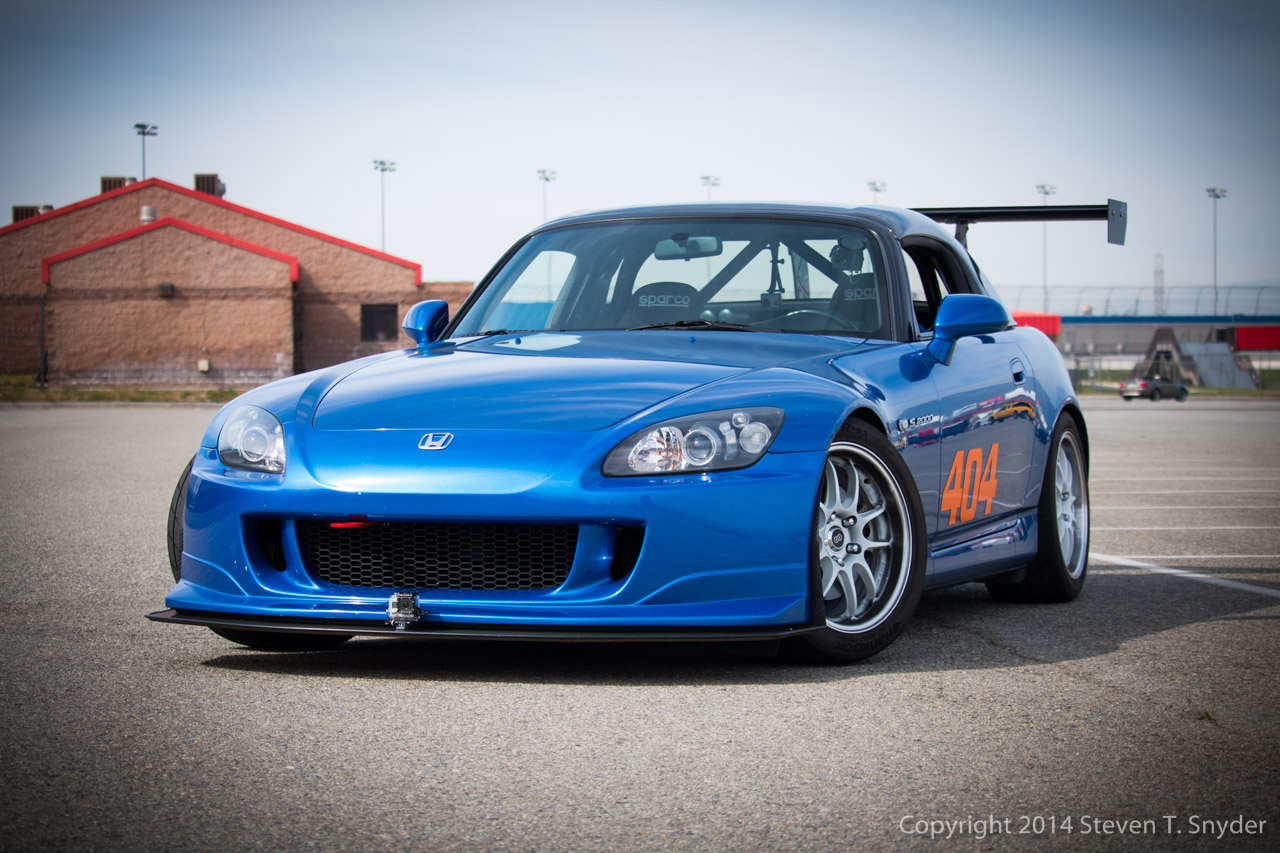
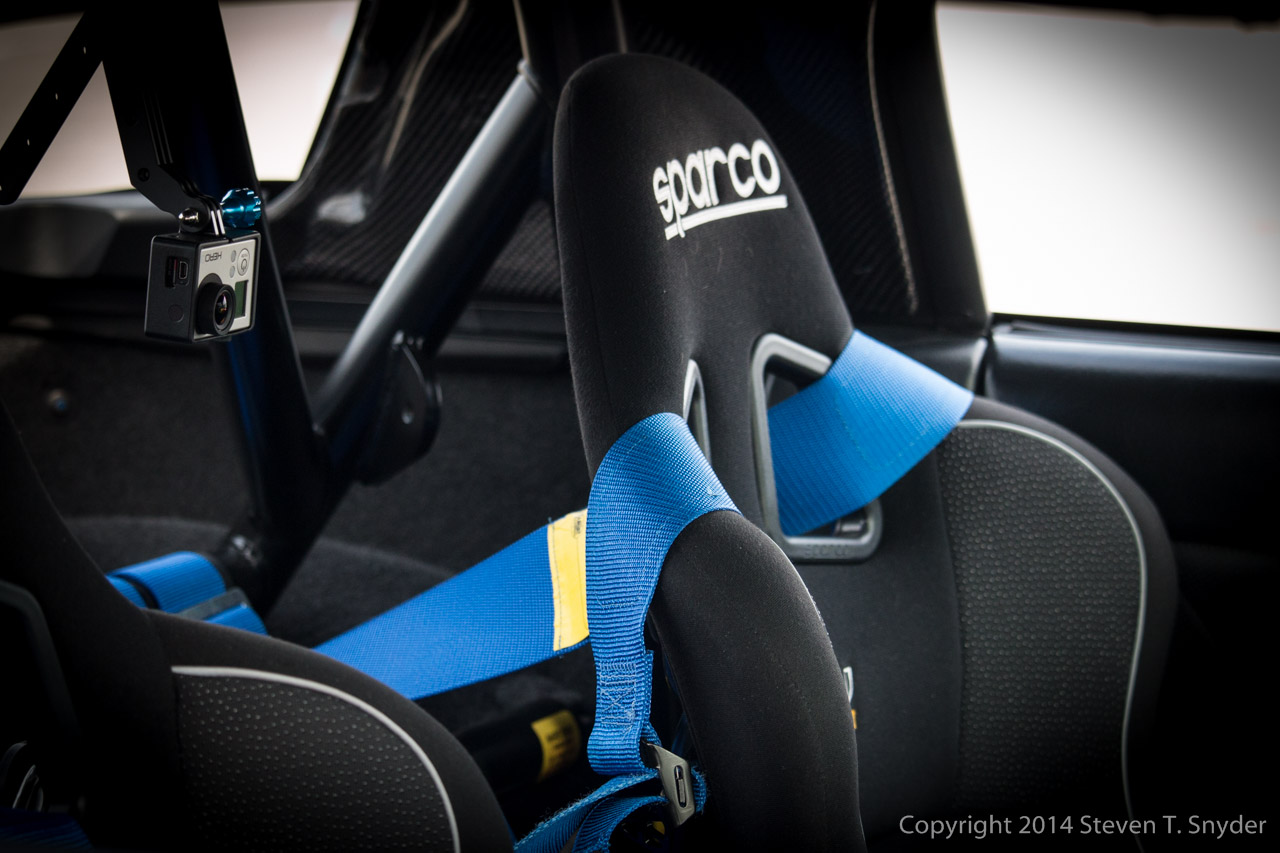
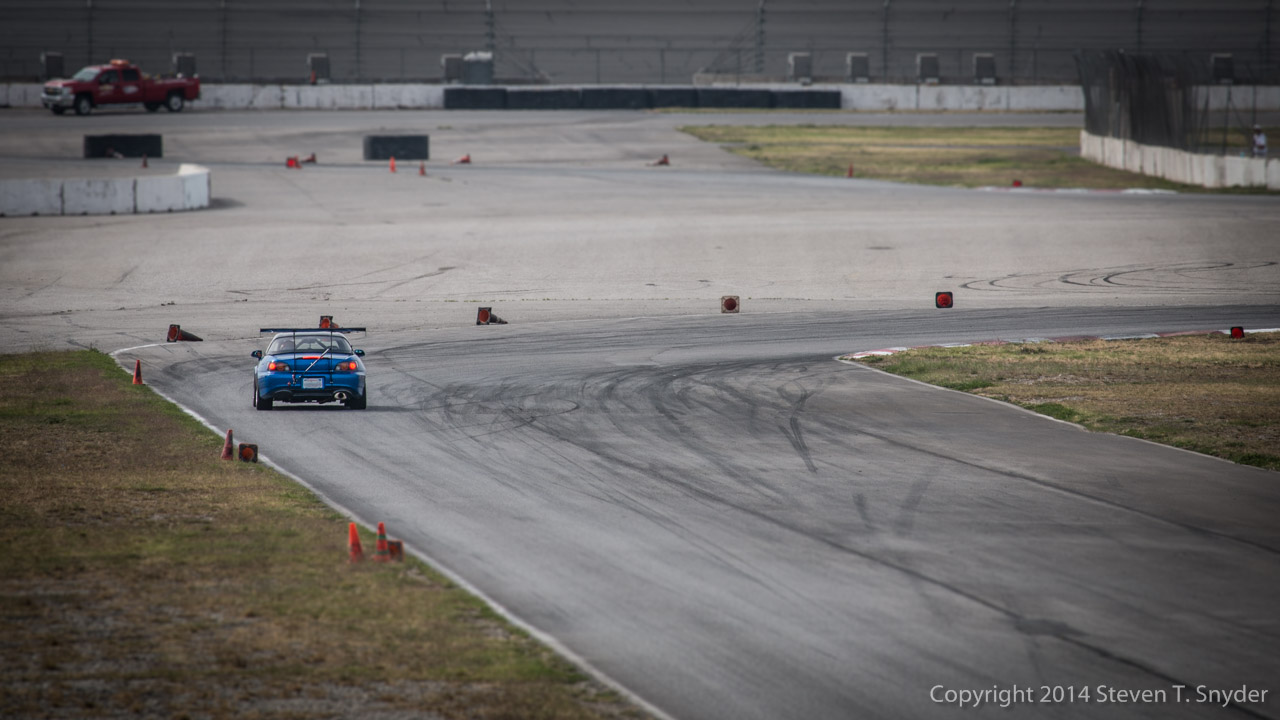
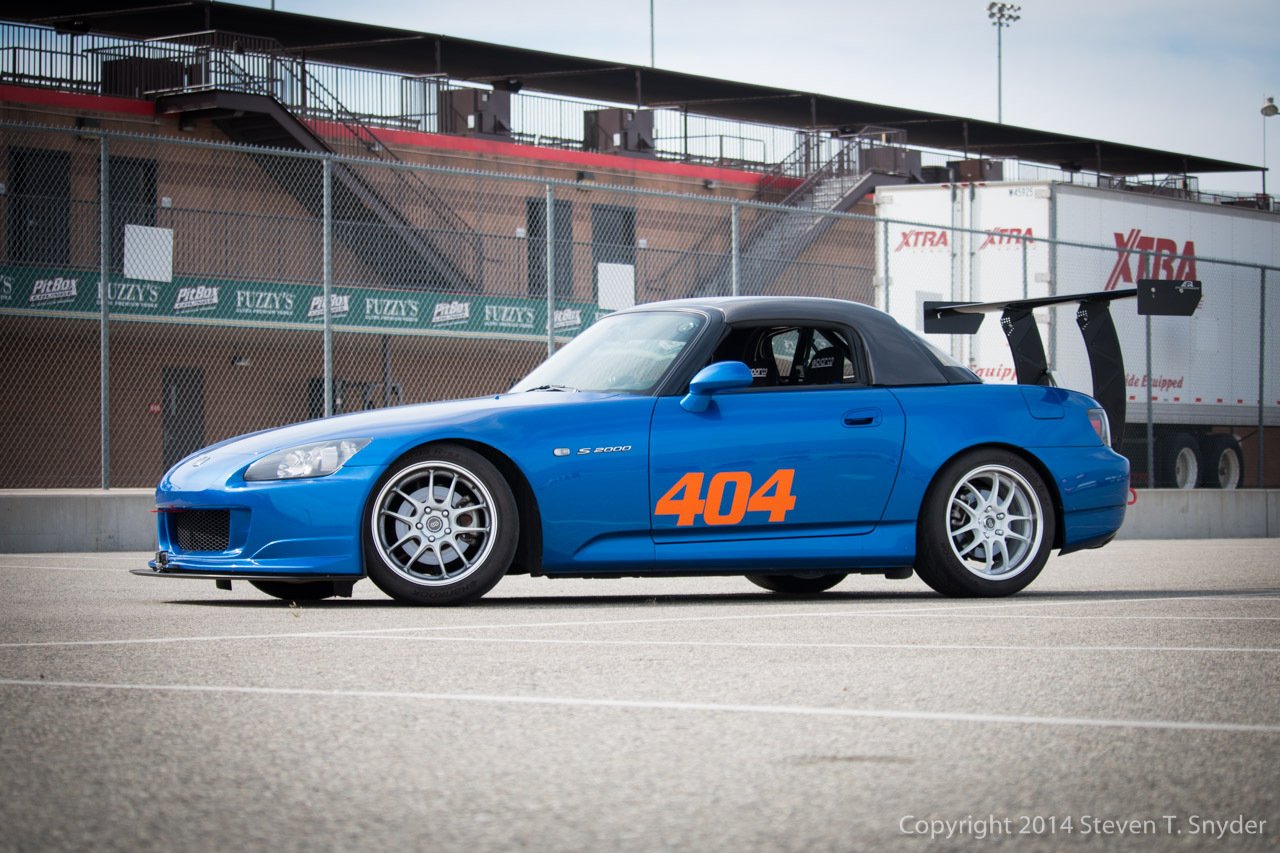
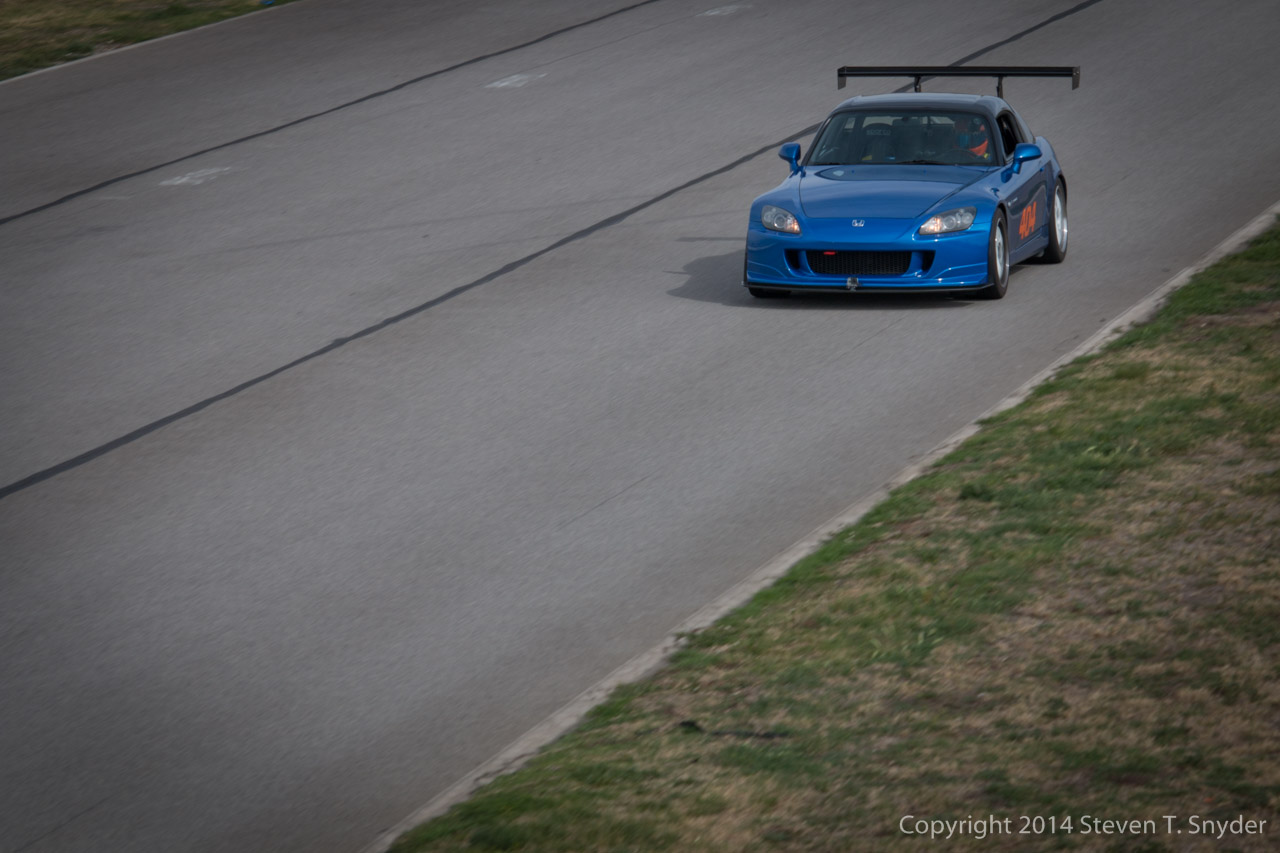
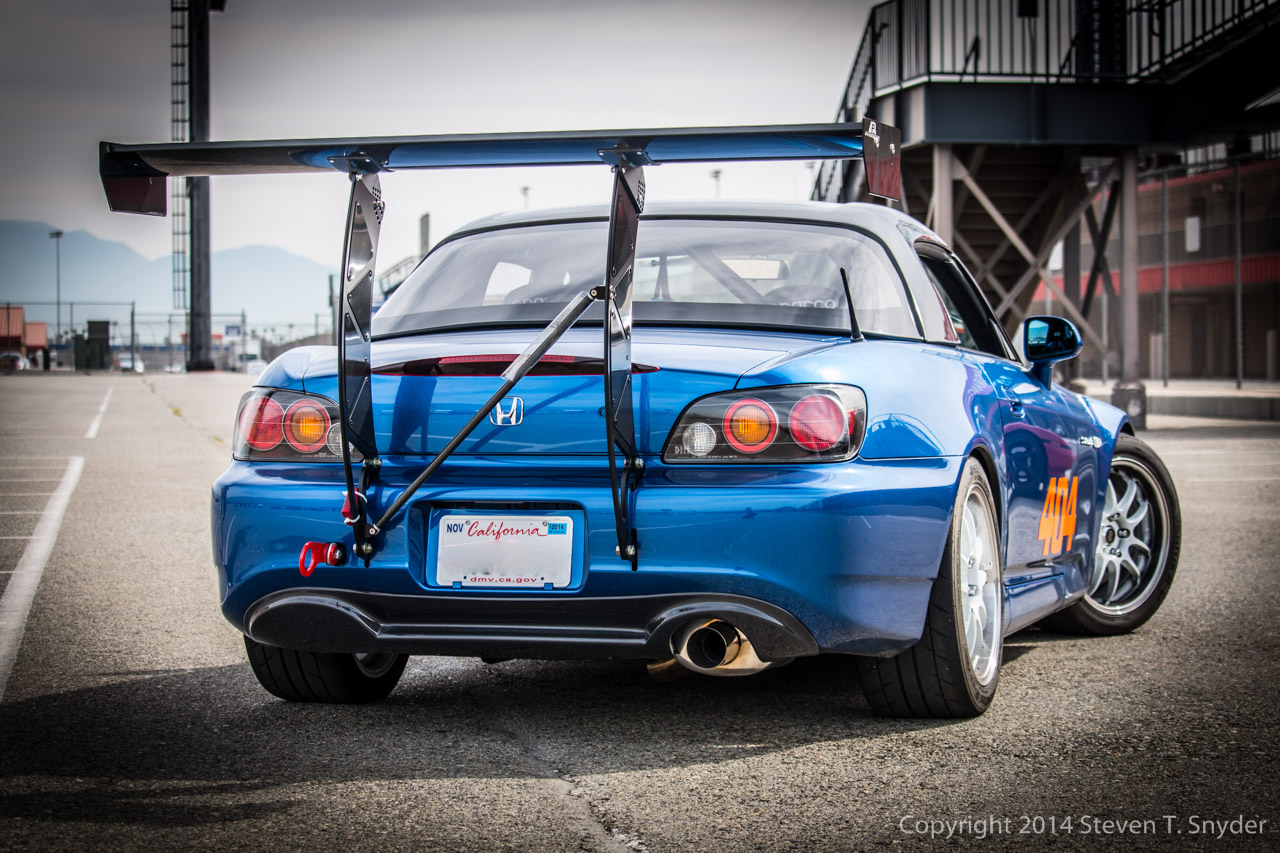
In between my autocross run groups I took the opportunity for an impromptu photo shoot – including some on track action – with Chris’ Wiita’s awesome 2007 Honda S2000 AP2.
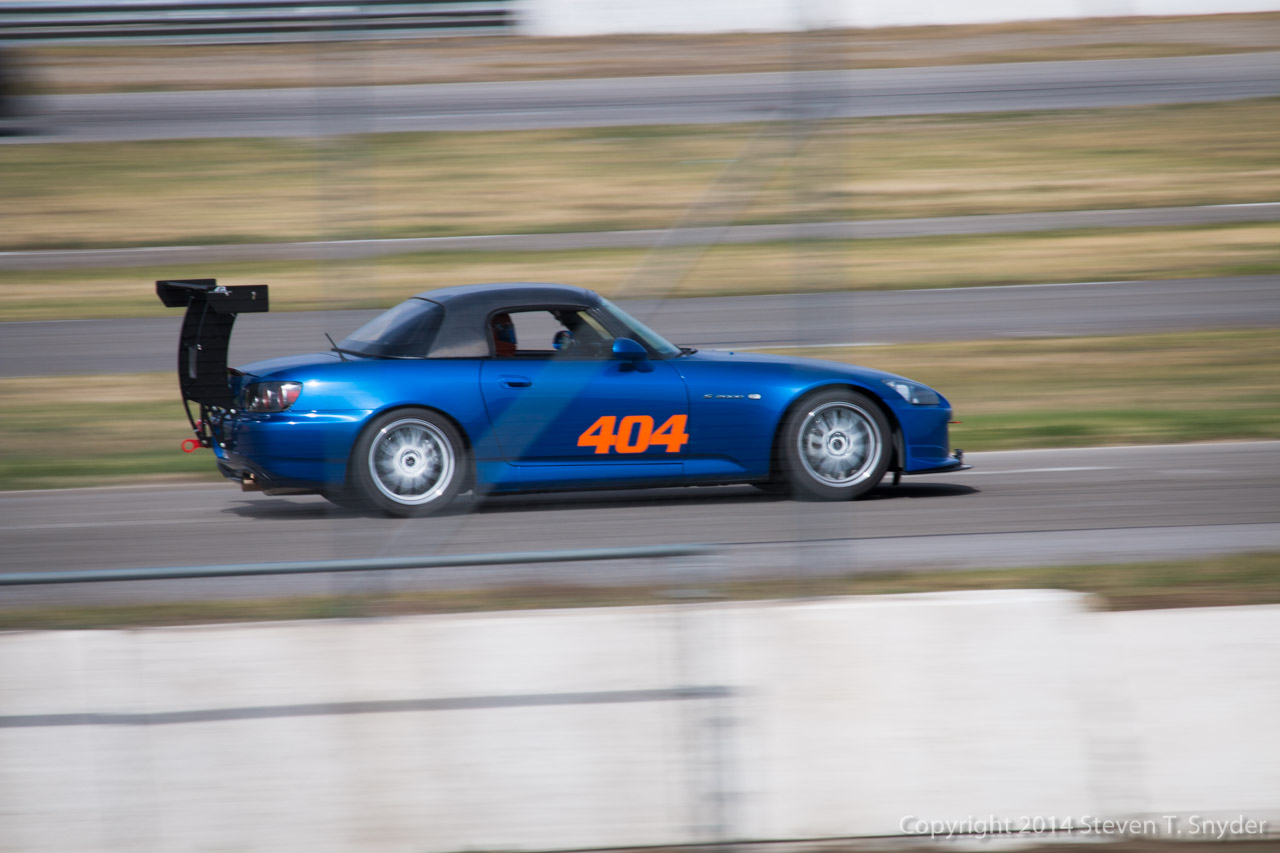
Chris Wiita was there for the Speed Ventures track day with his Laguna Blue Pearl S2000, which he’s been modifying and tuning since purchasing it in 2010, when it was bone stock. Chris started by dialing in the car for autocross and moved on to track days in 2013, where he’s been setting highly respectable lap times at various California road courses, including a 1:58 on the Roval with street tires. You can see a video of that run here.
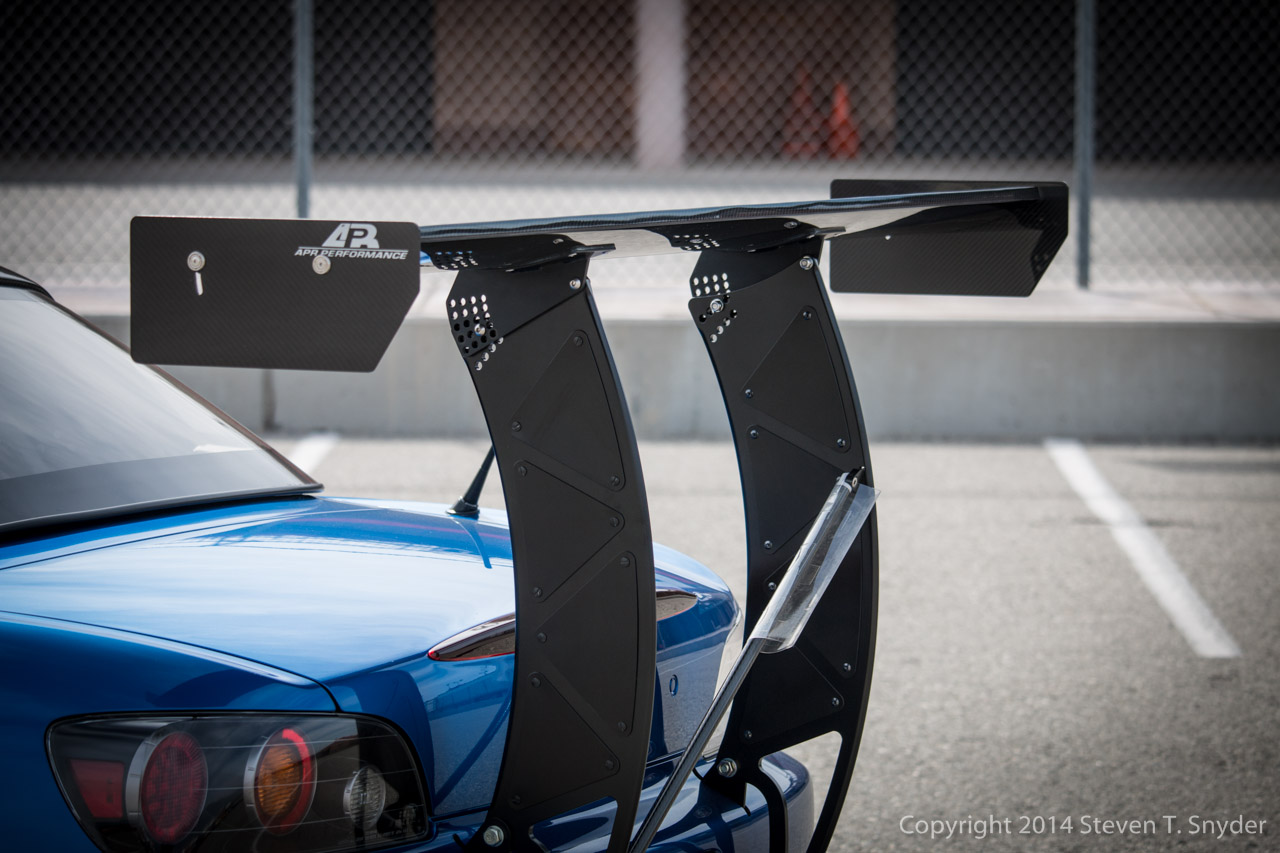
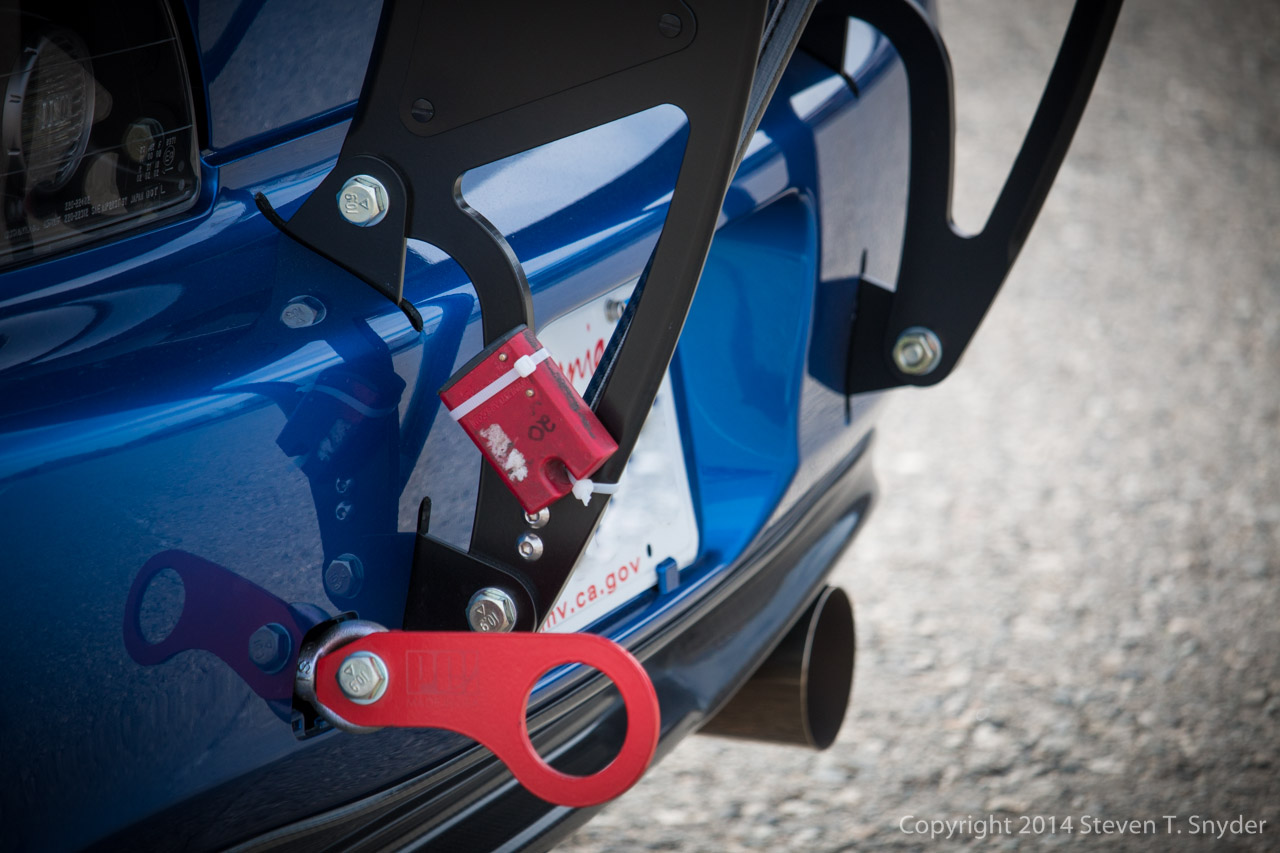
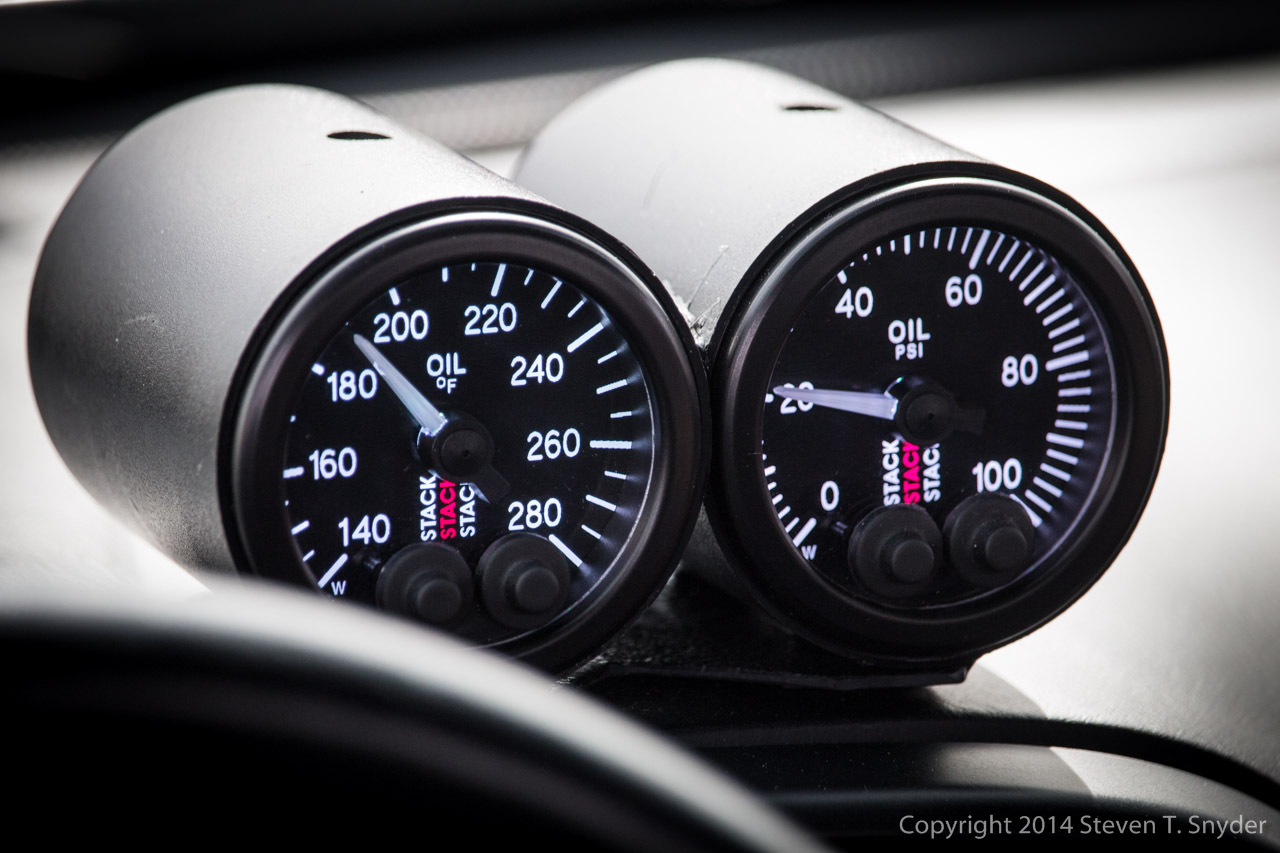
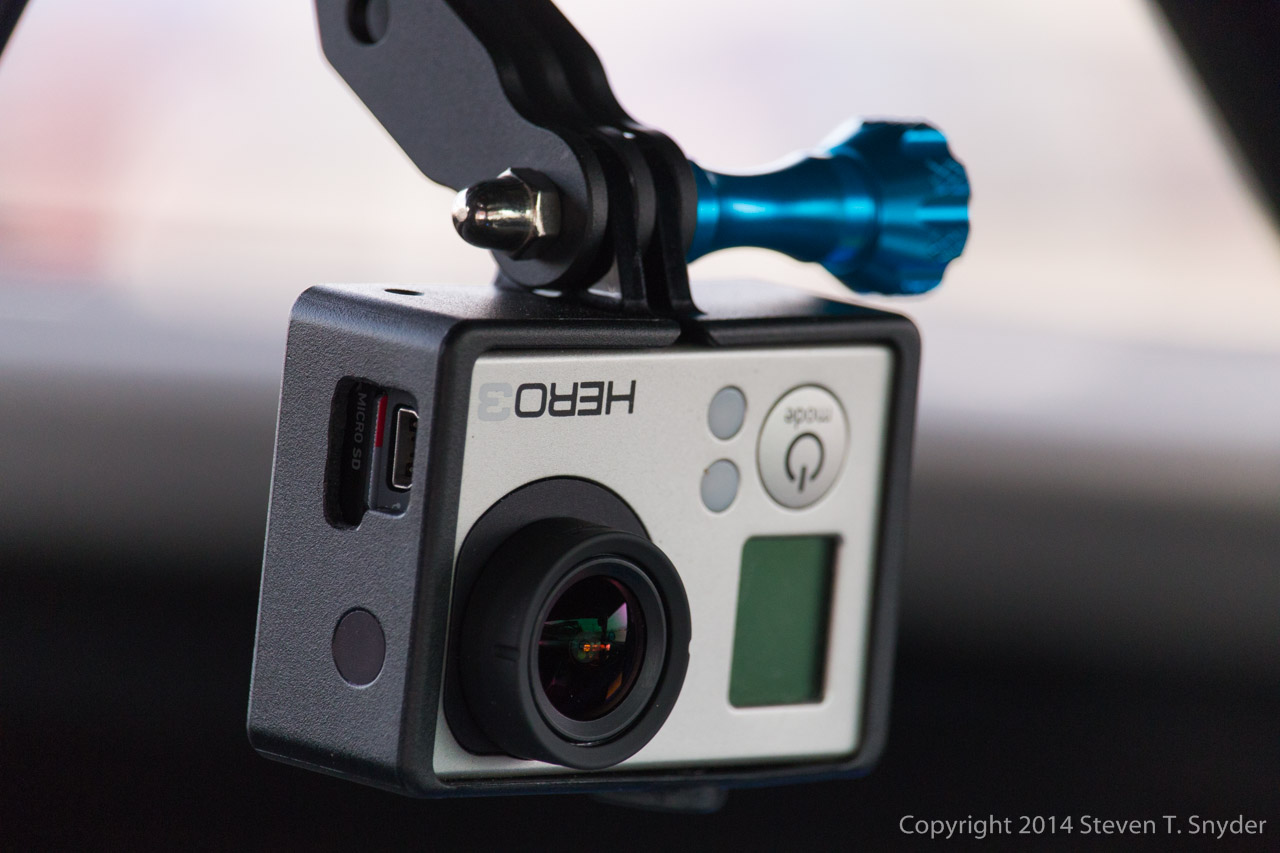
Laguna Blue Pearl is probably the best color this car was ever available with, if not the best Honda color ever!Sparco Rev seats and blue Schroth harnesses adorn the interior. A Hard Dog Fabrication roll bar anchors the harnesses, provides rollover protection, and a place to mount a GoPro!As clean and sharp looking as this car is, the mods are pretty much all business.The APR-250 wing is supported by custom aluminum uprights that Chris designed and built. The uprights are skeletonized to reduce weight but the holes are covered with composite panels to reduce drag.Chris set a 1:58 lap time on 255/40/17 Hankook RS3sHawk HP+ pads slow this AP2 down lap after lap without fade, but once this car gets an upgrade in the power department, a big brake kit will probably make an appearance. Knowing Chris it will be something we haven’t seen before on an S2k.The custom water-jet cut and machined aluminum wing risers attach to steel brackets connected directly to the frame to transfer maximum downforce to the rear tires.Stack oil temperature and pressure gauges give Chris a clear indication of how the engine is dealing with being pushed hard on the track.Chris’ S2000 currently sits on Enkei PF01s wrapped in 255-40-17 Hankook RS3s, but he tells me that big upgrades in the wheel and tire department are on the way.The massive APR GT-250 wing really dominates the appearance of this S2000 on the track. It looks wider than the car!Chris records all of his laps on multiple GoPro cameras to review and share at te end of the day.The carbon fiber wingstand brace and plastic airfoil really show Chris’ attention to detail. This Honda S2000 has a lot of interesting modifications that aren’t seen anywhere else.
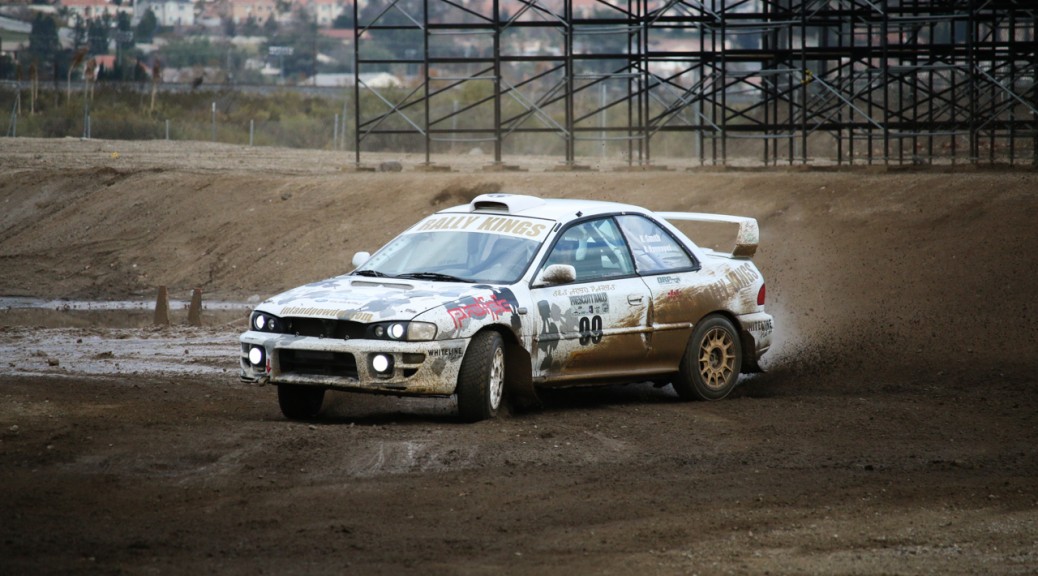
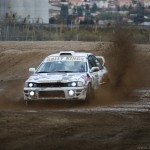
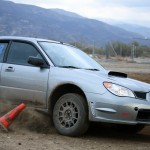
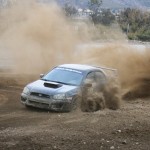
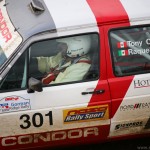
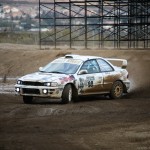
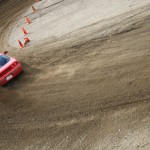
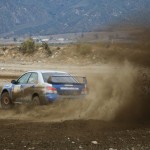
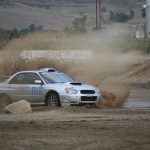
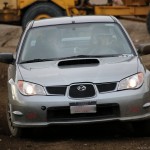
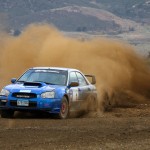
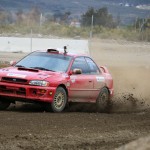
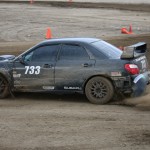
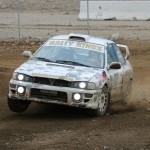
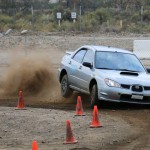
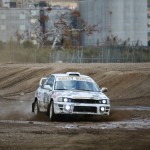
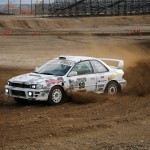
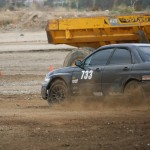
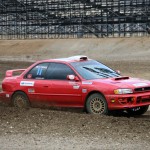
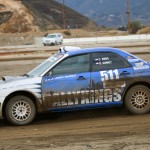
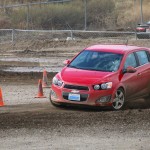
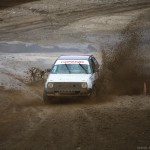
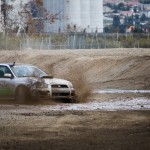
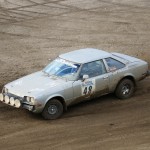
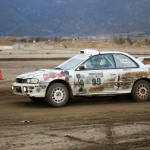
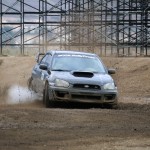
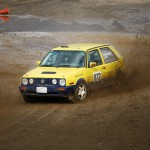
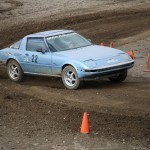
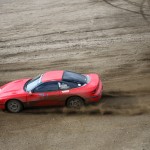
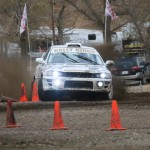
Last Sunday was the final race of the 2013 Porterfield RallyCross Series at Glen Helen Raceway. I showed with and competed in my Apocalypse Wagon, scored enough points to hold my lead, and won the 2013 season! The rest of the day was spent shooting thousands (THOUSANDS) of photos of the highly-entertaining afternoon run groups.
Here are some of my favorites. I shot these photos using my new Canon 70D with the EF-S 55-250mm f/4-5.6 IS STM lens. I try to minimize post-processing. Usually just a bit of contrast and exposure adjustment.
IMPORTANT NOTE: I am not a professional safety equipment builder, and I do NOT recommend building your harness bar the same way I built mine! This bar isn’t legal for any wheel-to-wheel racing, and race harnesses are not legal for use on the street. I just needed a way to put harnesses in the car for autocross and track days, since there’s no way to lock the stock seatbelts on a Fiero. Use a professional race shop to build a roll bar/cage if you intend to use a race harness. Race harnesses, harness bars and roll bars are NOT to be used on the street.
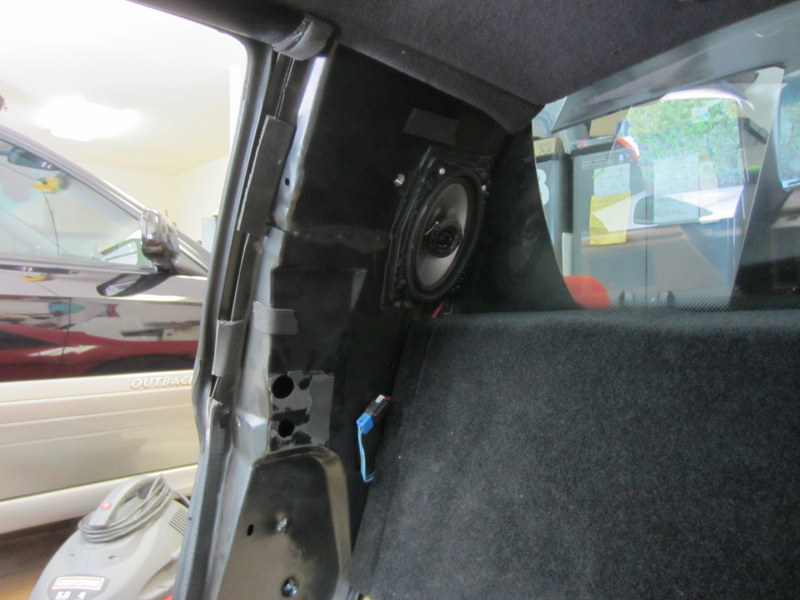
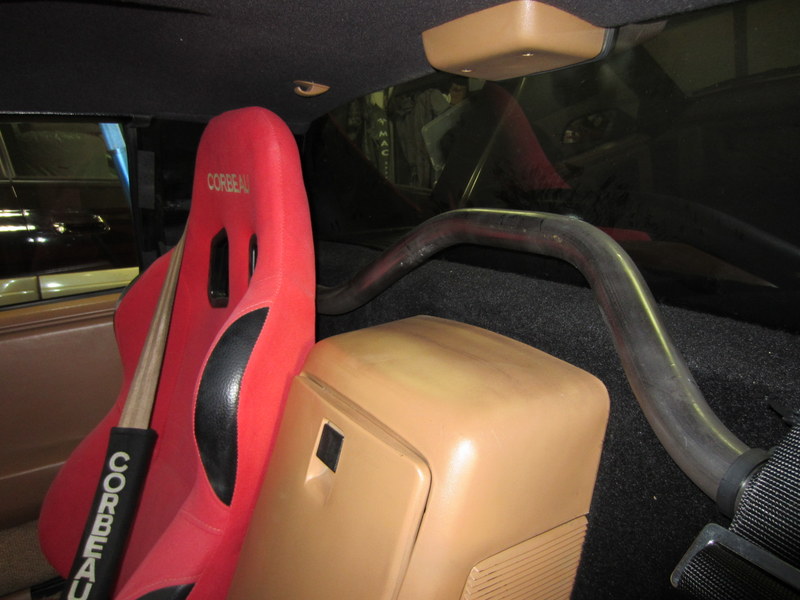
I recently finished building and installing a harness bar in my ’88 Fiero. I designed it so no parts need to be removed from the car except the B-pillars, the stock seatbelt can still be used, and no holes need to be drilled in the chassis.
Existing holes in the b-pillar can be used to pass bolts through for the harness bar.
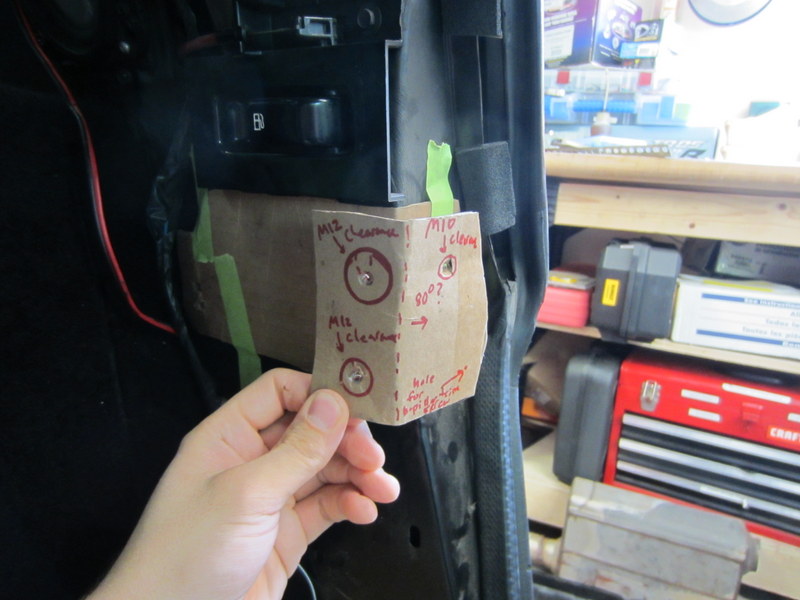
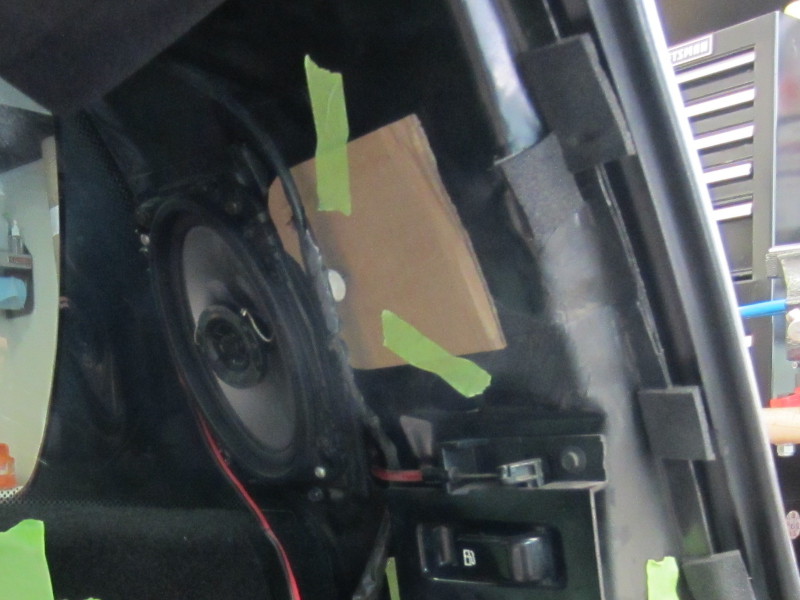
I designed a bracket to go over two existing holes in the B-pillar. I mock up all my brackets in cardboard, then trace them onto the material to be cut on a bandsaw, and bend it using my vice and a hammer or adjustable wrench. Obviously a sheet metal brake would be a lot easier and more precise, but I don’t have room for one in my shop right now.
This is a mockup of the backing plate which goes on the inside of the B-pillar. It will have two M12 nuts welded to it for attaching the harness bar.
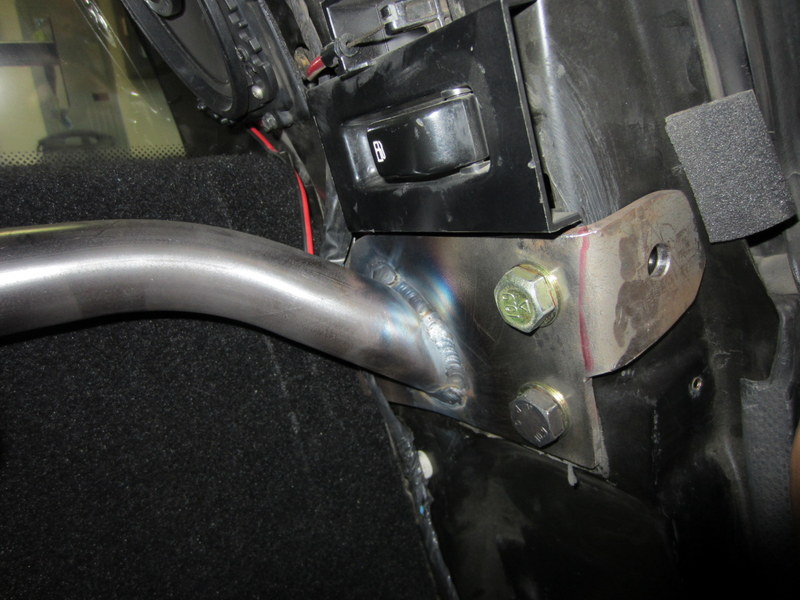
There is a hole at the bottom of the B-pillar that’s big enough to fit my arm through to feed the inner backing plate into place. I had two M12 nuts welded to the backing plate so I don’t have to fumble with nuts on the inside.
I bent the harness bar from 1.5″ OD, 0.120″ thickness 4130 “chrome moly” steel using a JD Squared Model 32 manual bender:
The harness bar cross beam was bent from 1.50″ OD 0.120″ wall thickness 4130 “chrome moly” steel tubing using a JD Squared Model 32 manual bender.
The brackets (inner and outer) were cut from 3/16″ 4130 steel plate and bent in my vice:
The brackets are made from 3/16″ thickness 4130 steel plate. They were cut on a bandsaw and bent on a vice. Precise fitup is extremely important for strong welds with 4130. There should ideally be NO gap between the tube and bracket plate.
I may add another M8 or M12 bolt in the 3rd hole, but haven’t done so yet.
Anti-rotation brackets can be tied into the harness bar by welding in additional tubes. This can help prevent the main harness bar from rotating forward when the shoulder harnesses pull on it in a collision.
If anti-rotation bars are desired, the main harness bar can be tied into plate bolted to the OE shoulder belt mounting points.
The bracket shown mocked up in cardboard would be made from 3/16″ 4130 steel plate and would be tied into the main harness bar with 1.5″ OD 0.120″ wall thickness tubes. This can help prevent the main harness bar from rotating forward when the shoulder harnesses pull on it in a collision.
When I have enough parts ready to fill a large batch, I’ll probably have the harness bar powdercoated. I’ve read that some race teams don’t powdercoat or paint their roll cages or harness bars, so that it’s easier to inspect for cracks. However, some surface rust will develop over time if it isn’t protected.
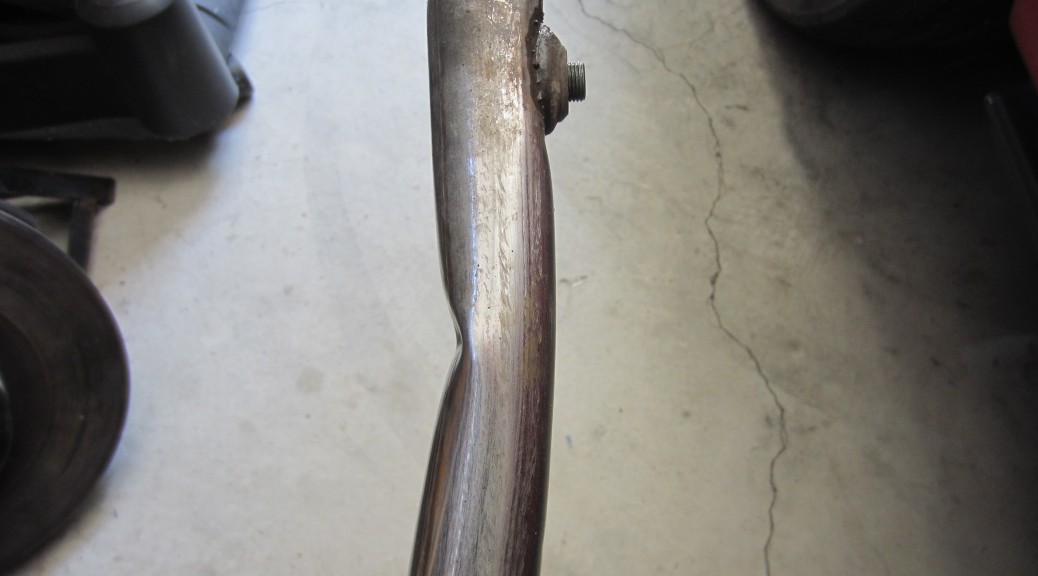
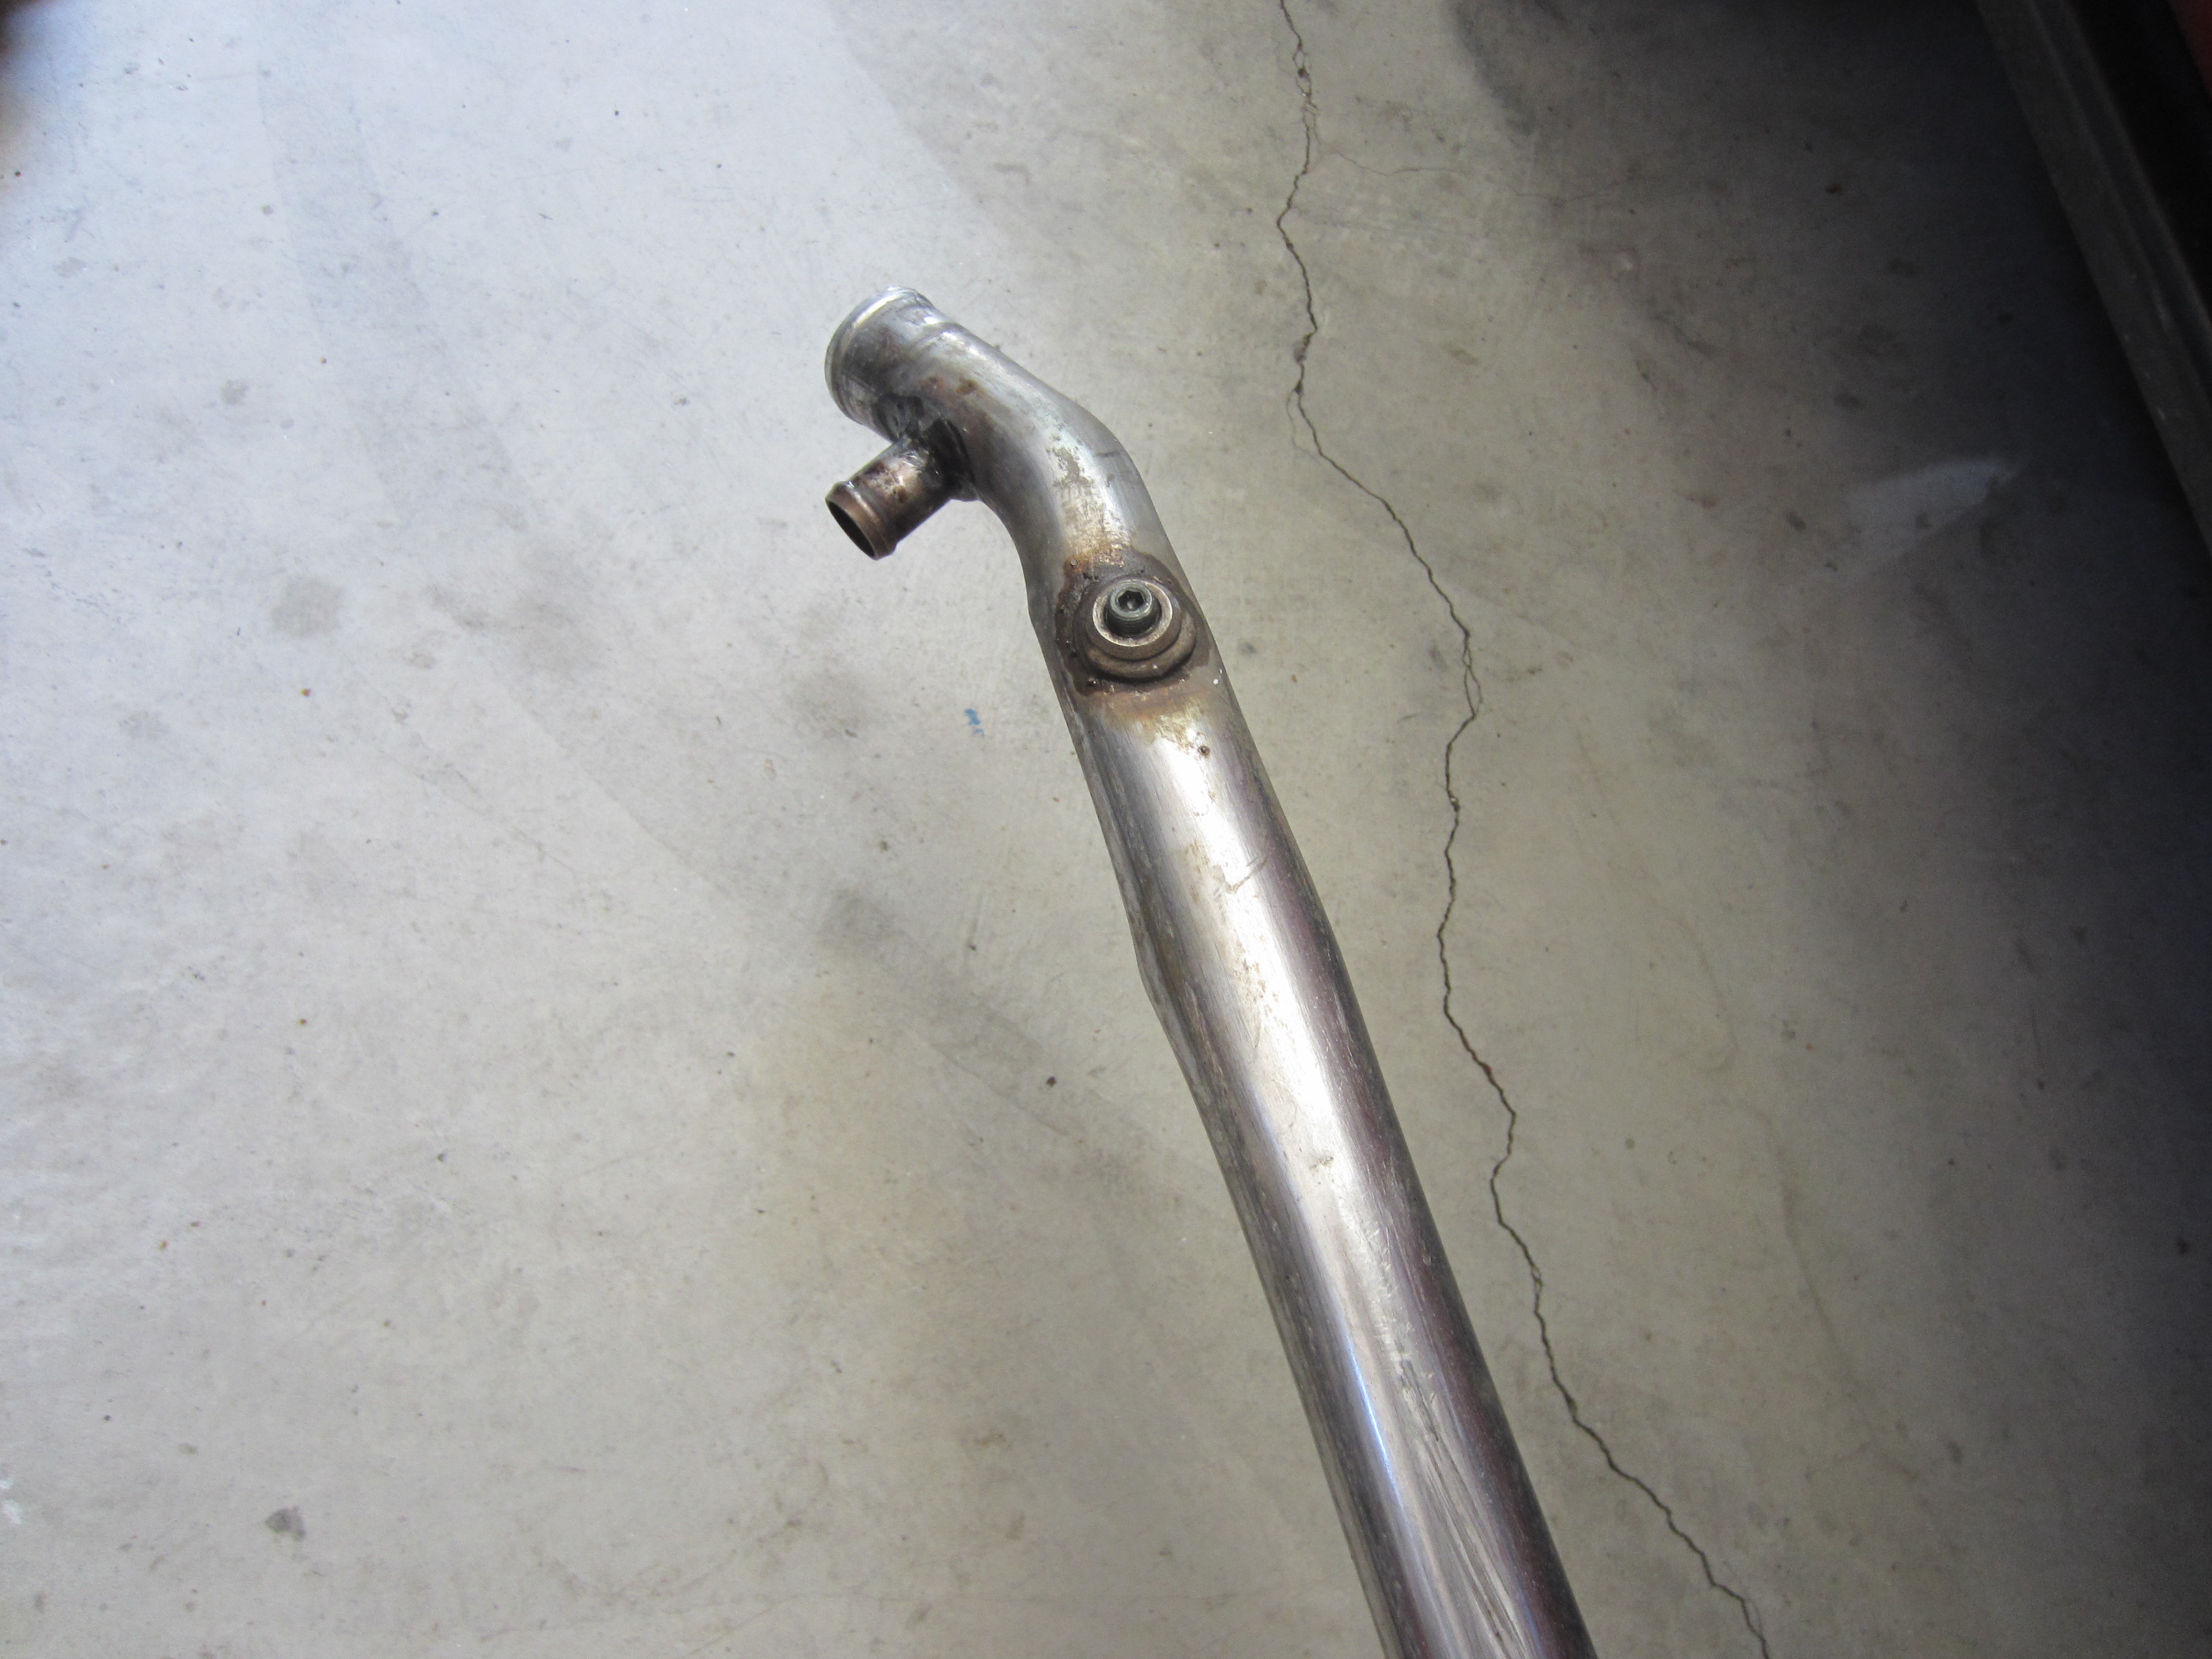
With its mid-engine layout, the Fiero needs to shuttle coolant from the rear to the front of the car, where the radiator is located. The coolant flows through tubes located just inboard of the rocker panels. Since this is a common location for modern cars to be lifted for maintenance and repair, shops often damage the coolant tubes by using them as jackpoints. All it takes is one careless mechanic or tire shop employee to crush the pipes and render the cooling system ineffective.
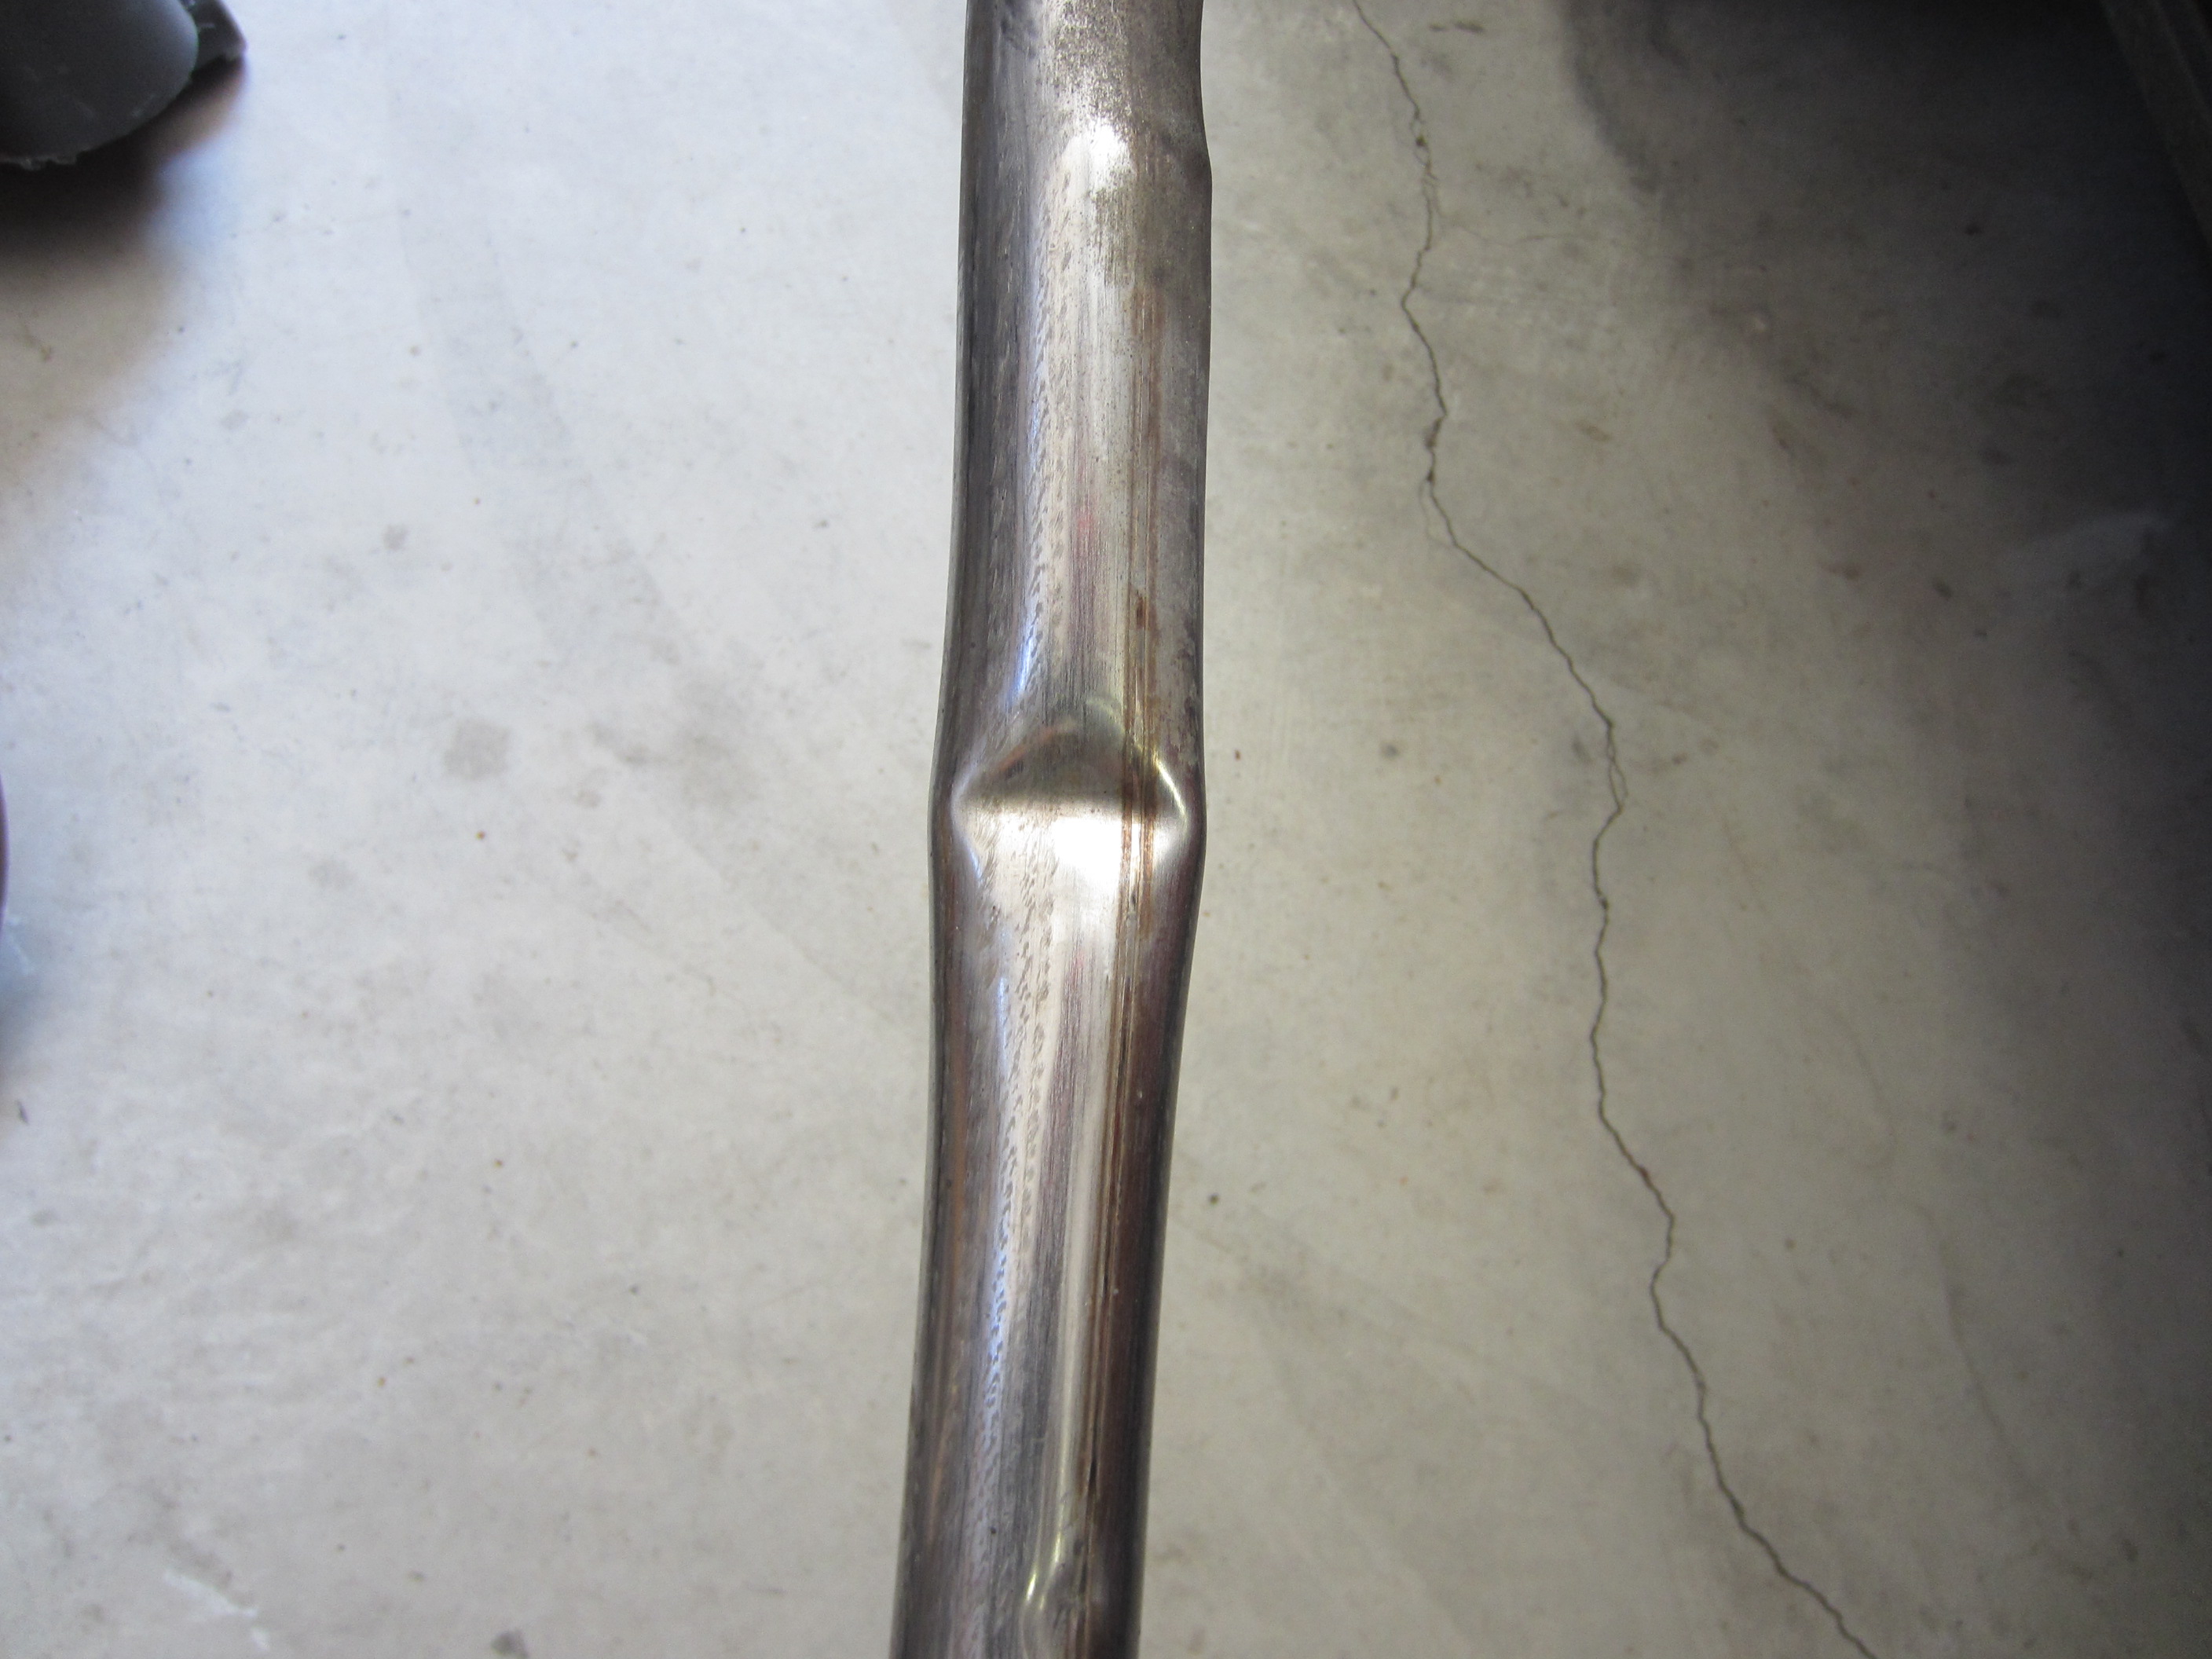
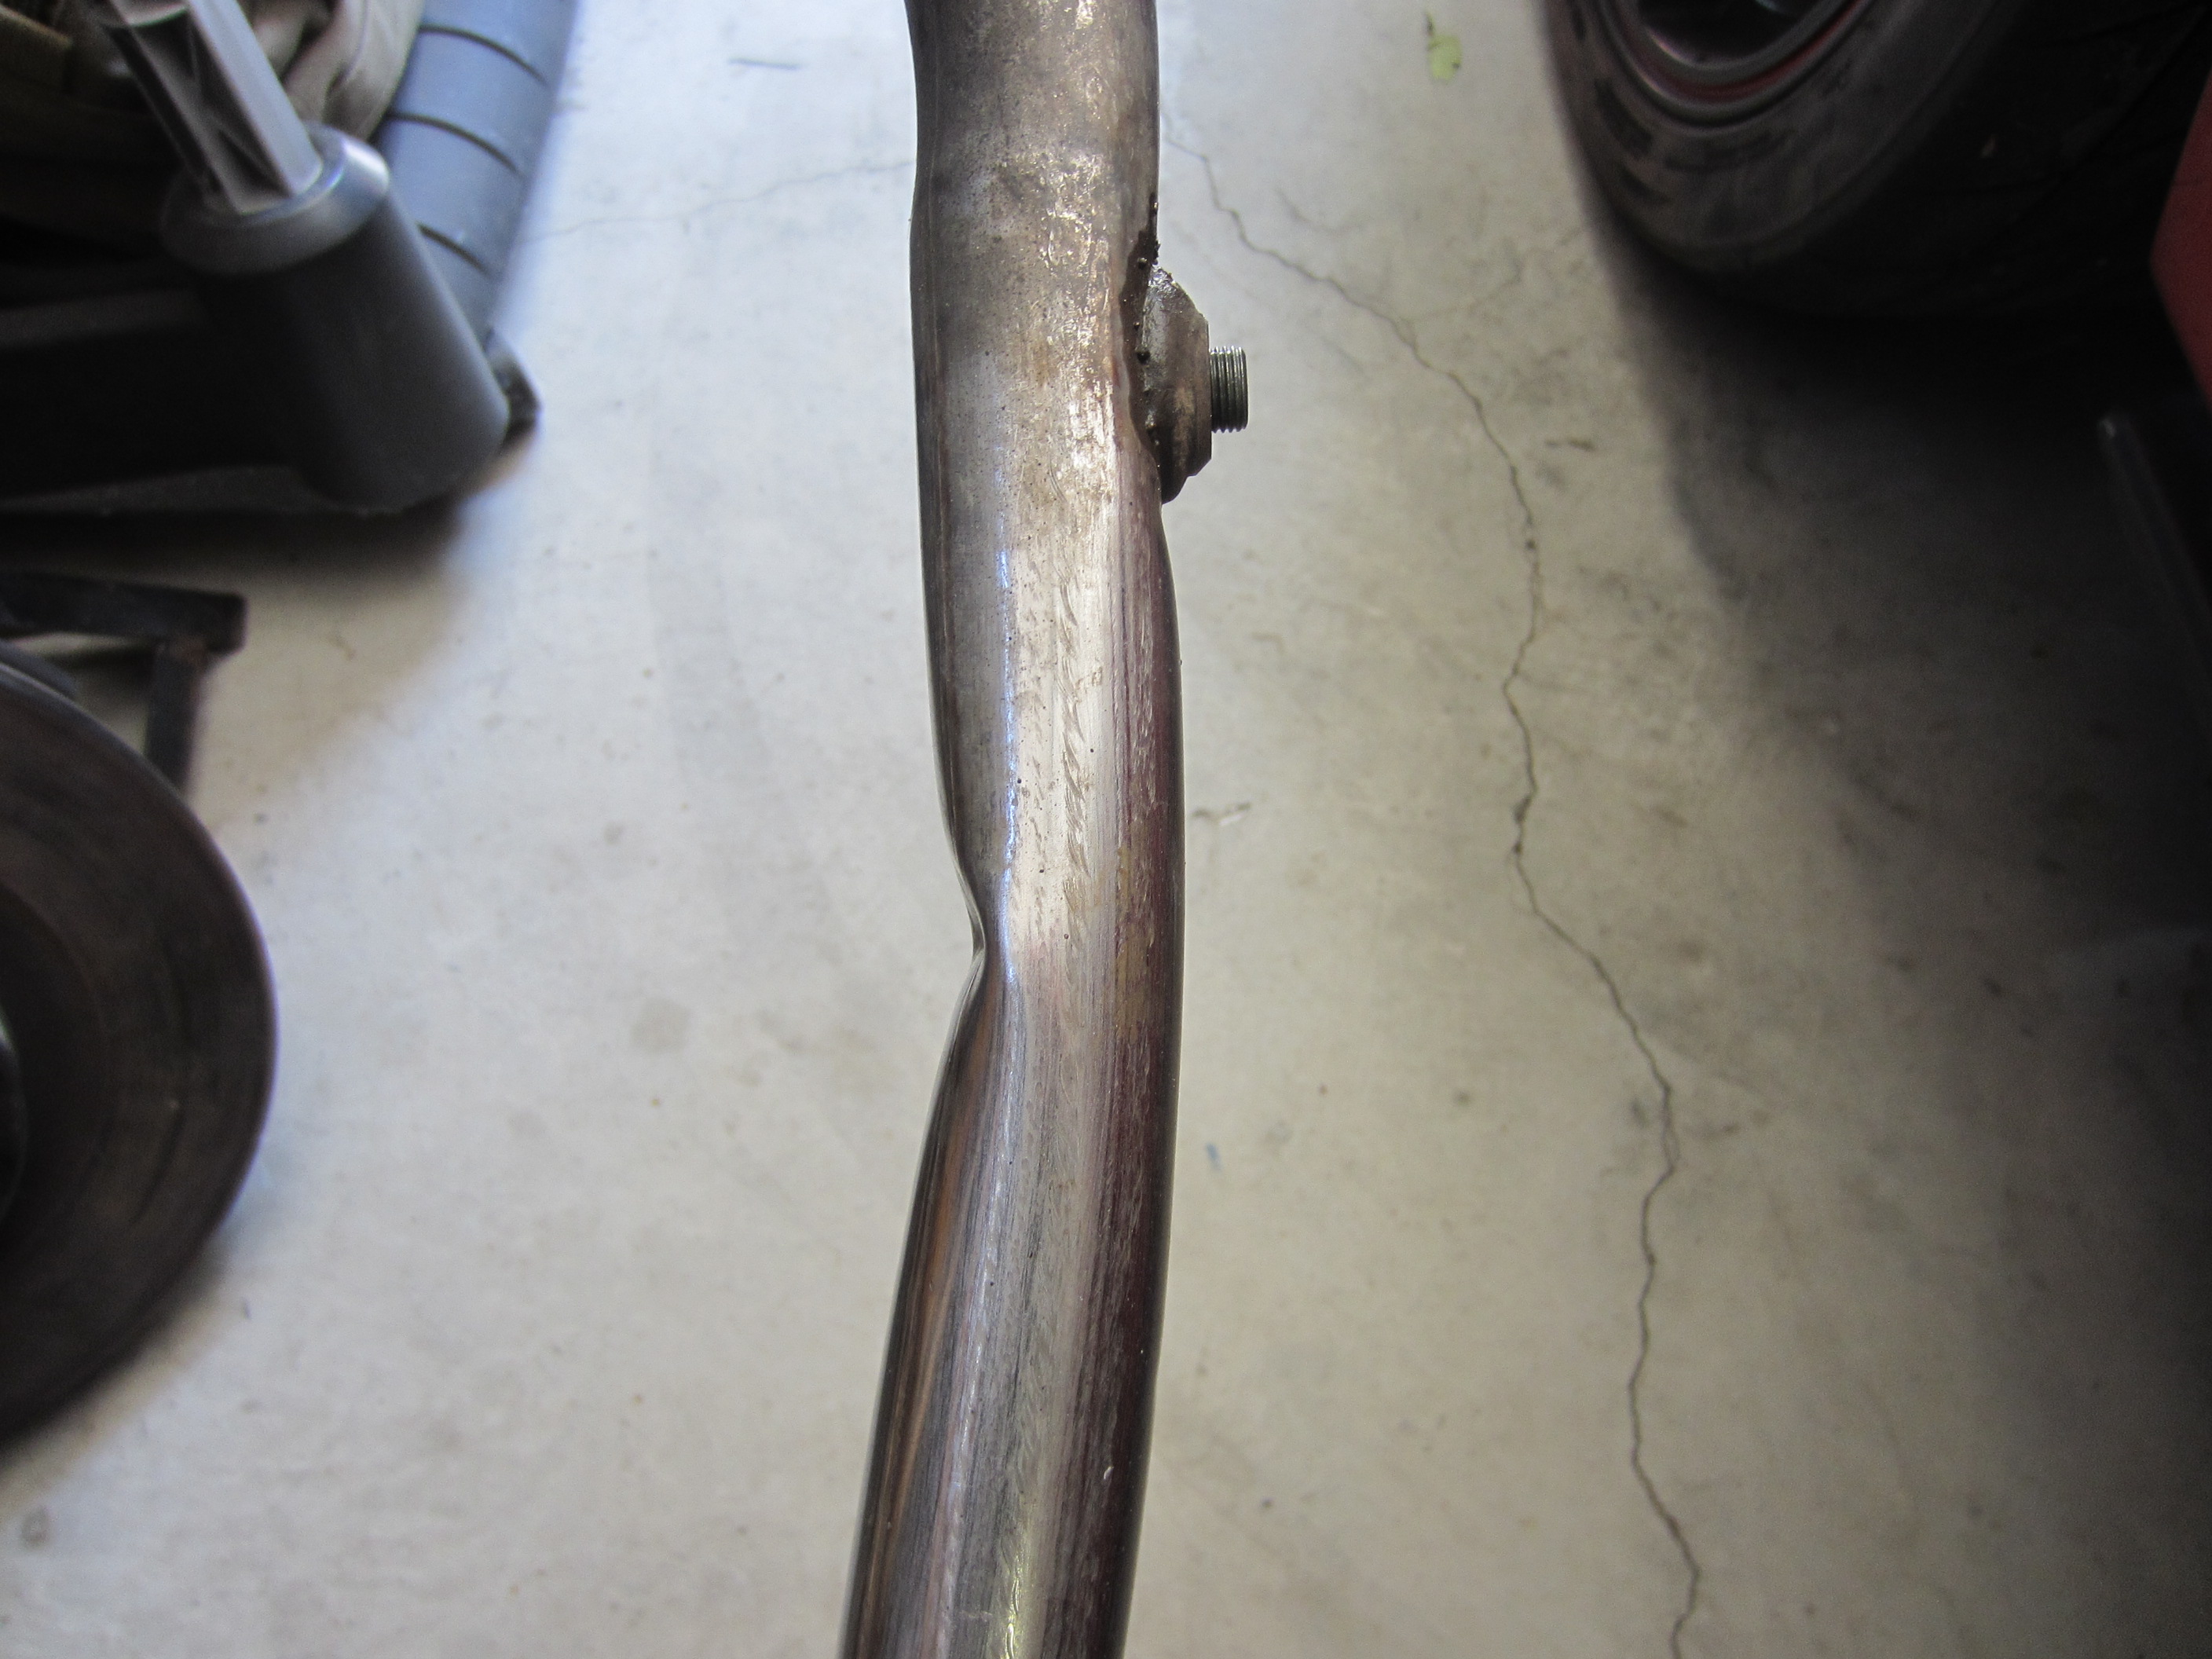
The damage is often hidden, as shown below:
Damaged coolant pipe, viewed from below where the damage is not visibleThe same pipe, removed and viewed from aboveDamaged coolant pipe, viewed from the side
Replacement coolant tubes for the 1984 to 1987 Fieros are available from The Fiero Store. However, they are expensive, and tubes for 1988 Fieros are not available.
With access to a welder, it’s possible to repair kinked/crushed tubing.
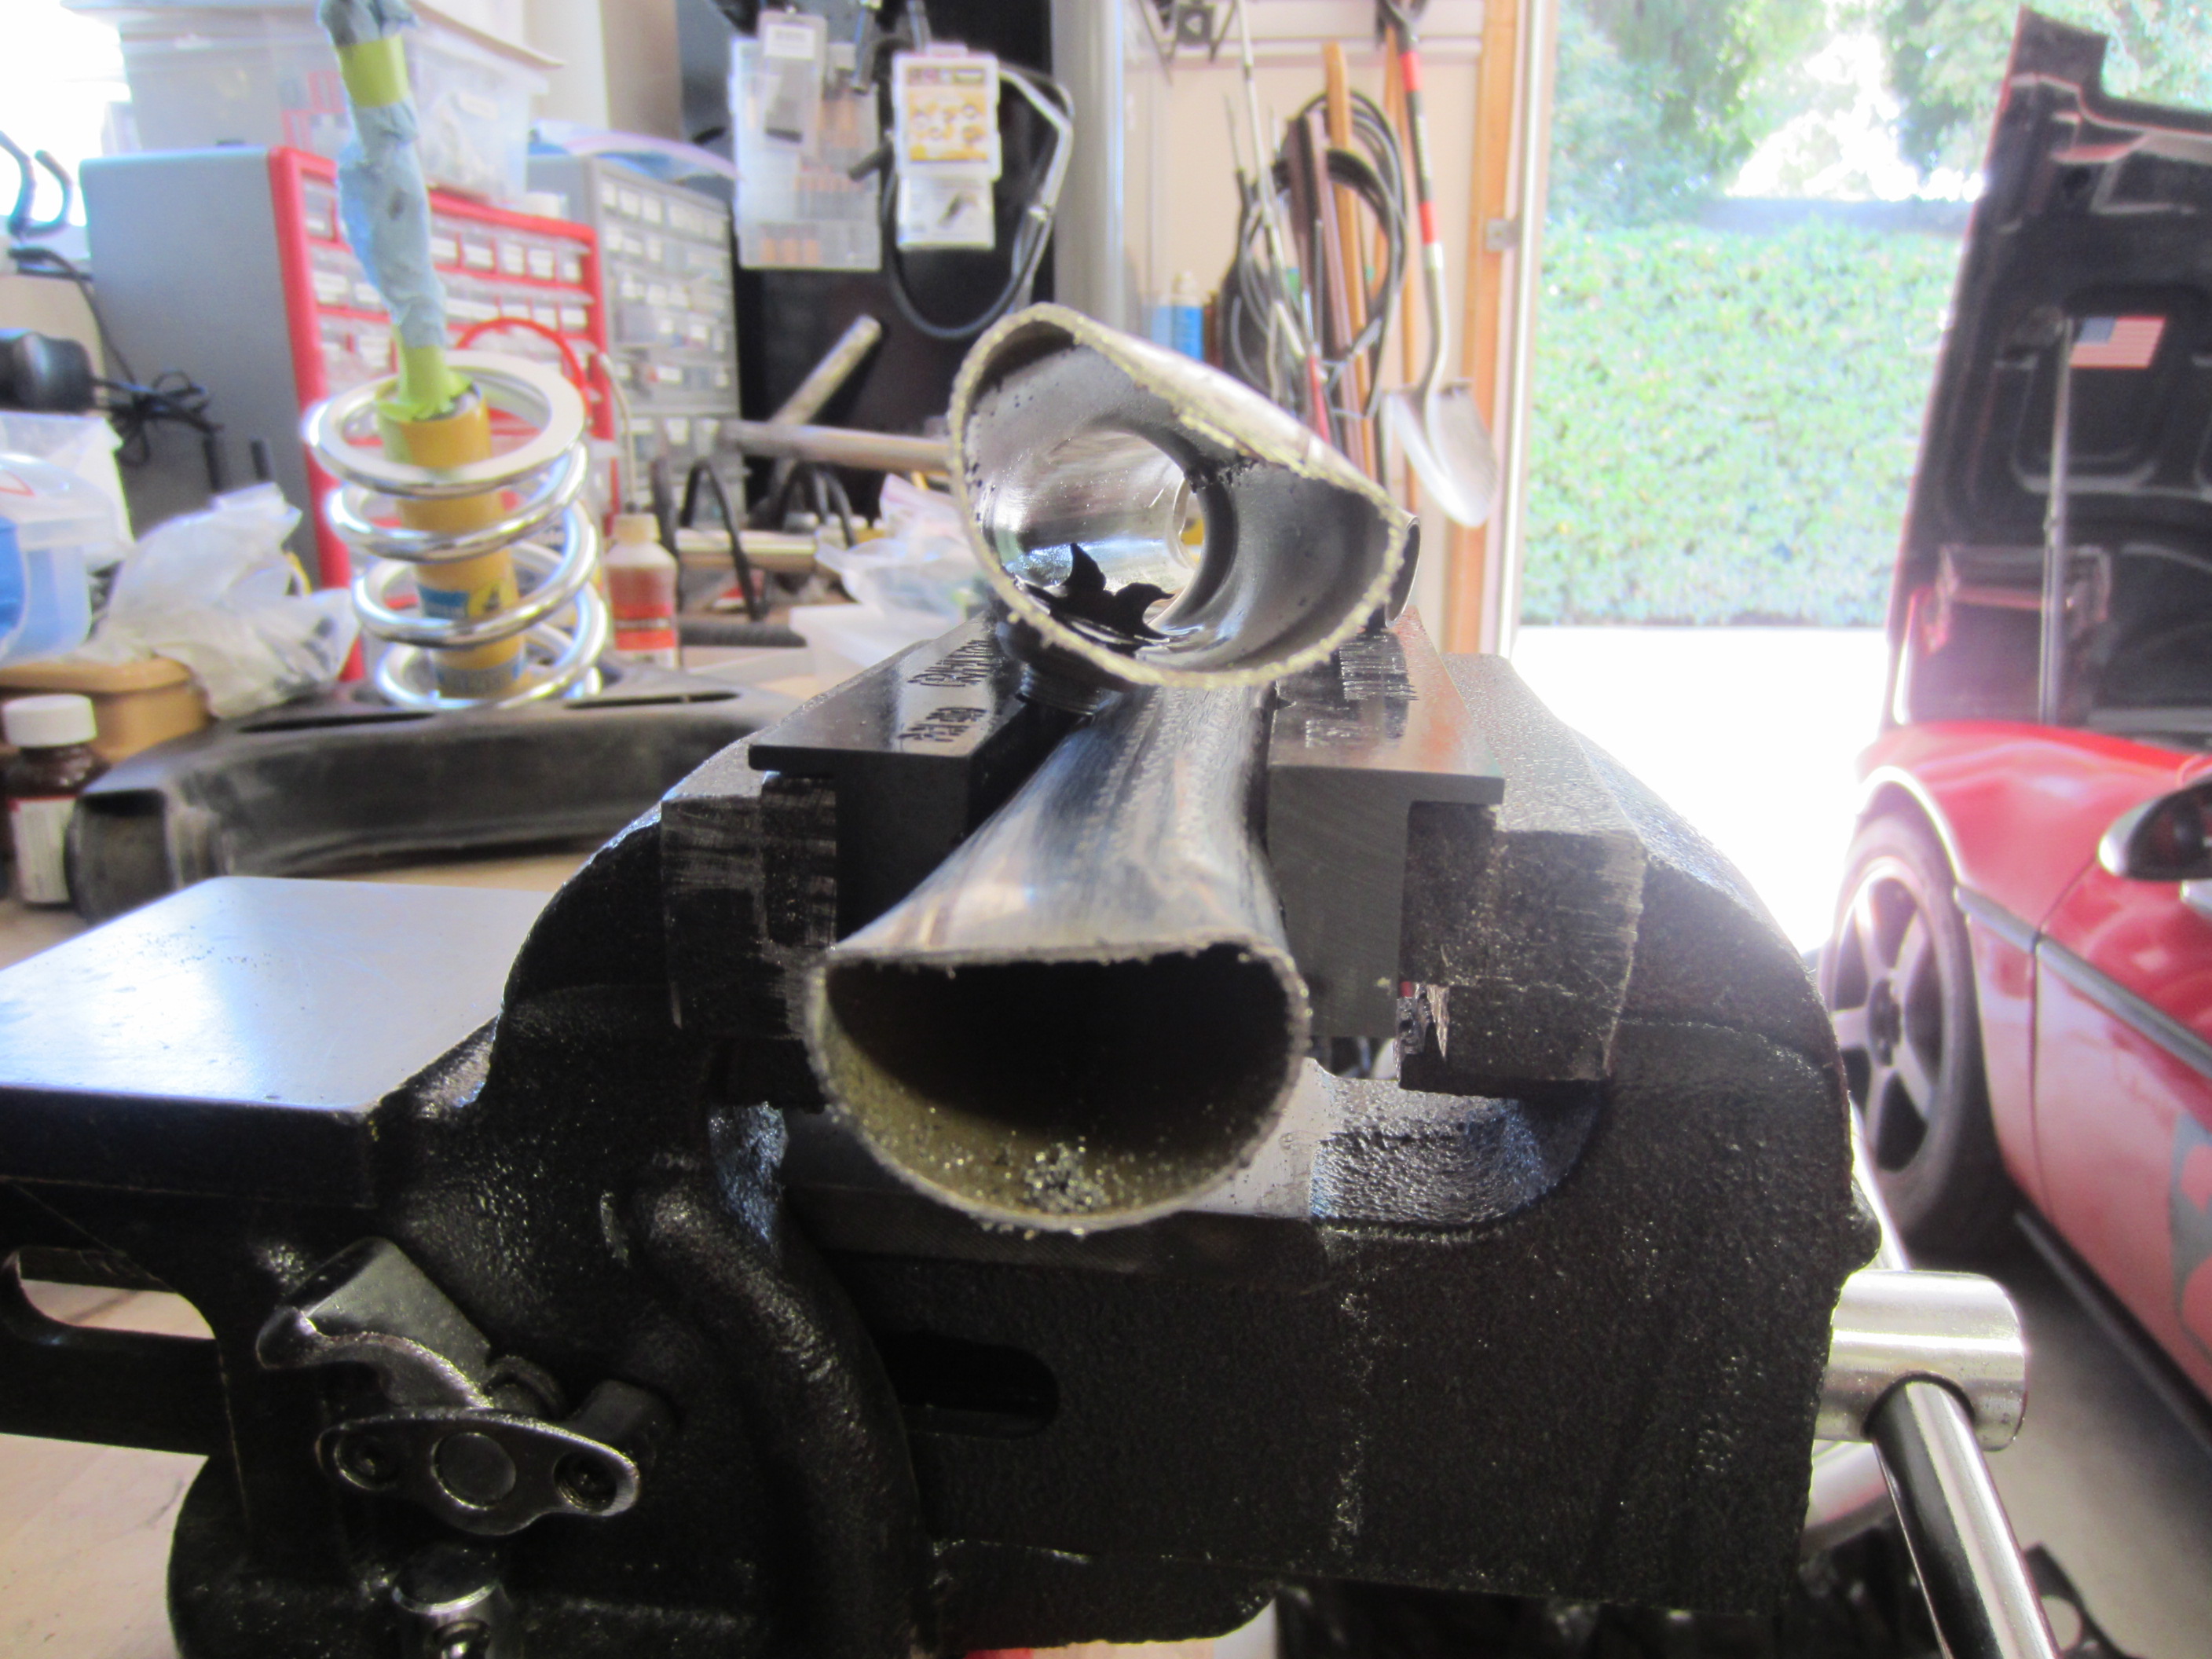
First, cut the tubing at the narrowest part of the kink. A hacksaw will make quick work of the thin stainless steel tubing.
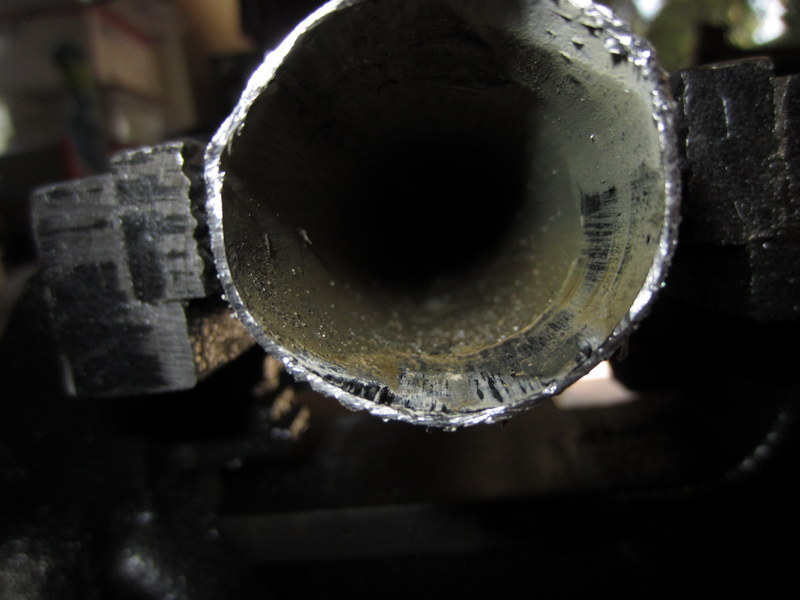
In the cross-section, you can see the magnitude of the restriction. This tube had about 30% less cross sectional area than it should have. It wasn’t enough to cause overheating in normal driving, but on the track coolant temps were very high.
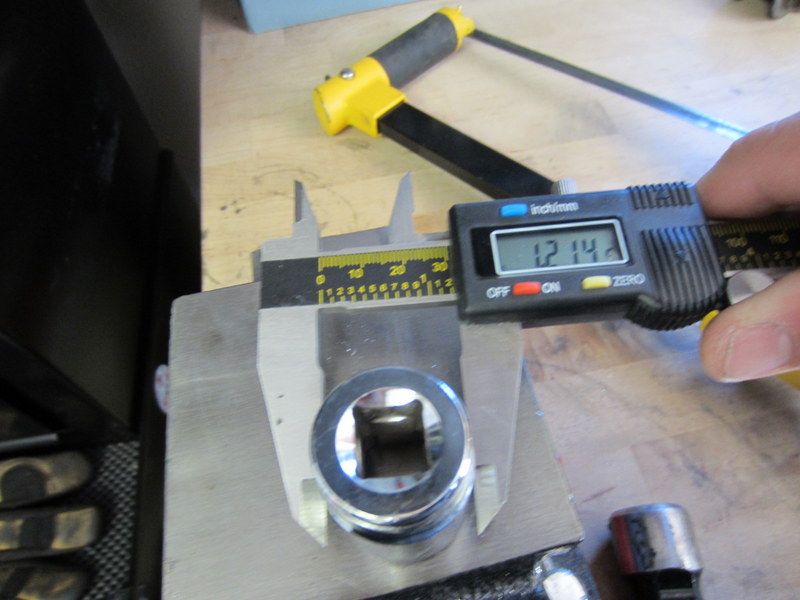
When not suffering from damage, the coolant tube should have an inner diameter of ~1.236″. A socket with approximately the same outer diameter can be used as a mandrel to bend the tube back into shape.
A 1/2″-drive socket with the right outer diameter can be used as a mandrel to reshape the coolant tube. This socket has a stepped region with a smaller diameter so it fits in the bent tube.
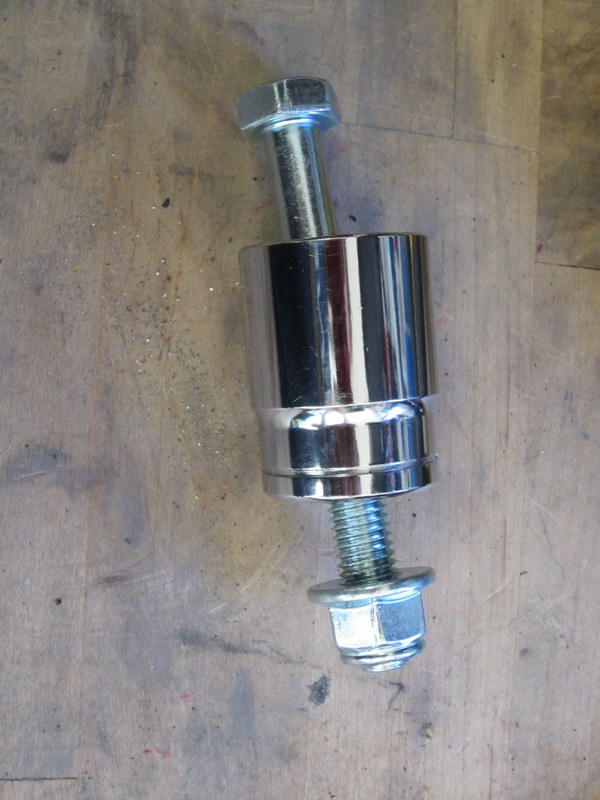
To facilitate removal, insert a long bolt through the drive hole in the socket. Later, a slide hammer can be used to remove the socket.
Insert a bolt through the socket and install a nut so it can be used to pull the socket. A nylock nut was used here to prevent it from accidentally loosening during removal.
It may be necessary to bend the coolant tube with pliers or a vice to make room for the stepped smaller diameter of the socket.
It will be necessary to secure the coolant tube in a vice to prevent it from moving while knocking the socket into the tube.
After making the small diameter of the socket fit by bending the tube with pliers or the vice, carefully hammer the socket evenly into the tube. Make sure to wear safety glasses! The chrome plating of the socket or the hammer itself may chip. Using a piece of wood to drive the socket is also a good idea, as it can help prevent the hammer and socket from chipping, and help distribute load.
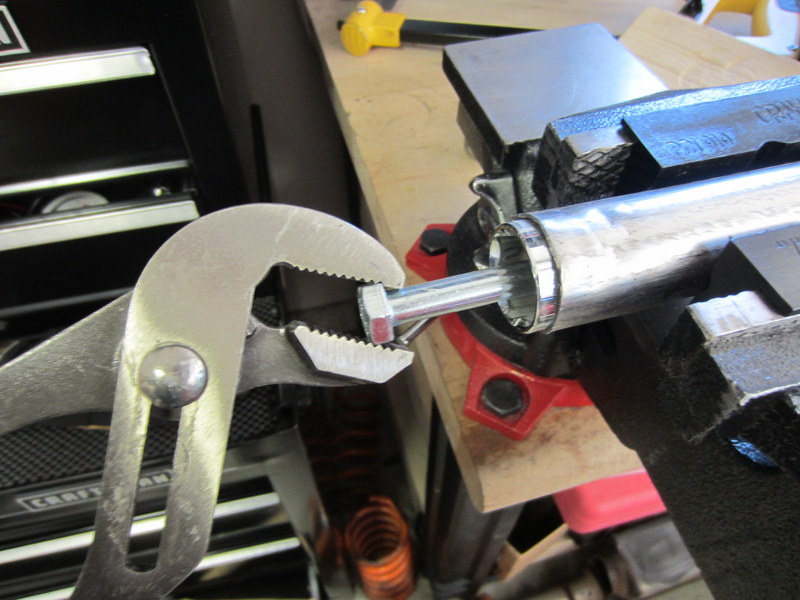
After the socket is fully inserted into the tubing, remove it using a slide hammer or channel locks (see photo below).
If you don’t have a slide hammer, grab the bolt with channel locks and use it to remove the socket.
Repeat the socket-reshaping procedure described above fro the other piece of the cut tube.
This Fiero coolant tube has been reshaping by hammering a socket into it.
Finally, prepare the tube for welding by sanding the inside and outside, and grind or deburr the faces if necessary to get the best fit.
This tube was welded back together using a TIG welder and stainless steel filler rod.
If you don’t have access to a welder, a muffler shop should be able to weld the tube back together. Make sure they know it’s stainless steel, and tell them to line up the welded seam of the tubing.
full-spectrum engineer
We use cookies on our website to give you the most relevant experience by remembering your preferences and repeat visits. By clicking “Accept”, you consent to the use of ALL the cookies.
This website uses cookies to improve your experience while you navigate through the website. Out of these, the cookies that are categorized as necessary are stored on your browser as they are essential for the working of basic functionalities of the website. We also use third-party cookies that help us analyze and understand how you use this website. These cookies will be stored in your browser only with your consent. You also have the option to opt-out of these cookies. But opting out of some of these cookies may affect your browsing experience.
Necessary cookies are absolutely essential for the website to function properly. These cookies ensure basic functionalities and security features of the website, anonymously.
Cookie
Duration
Description
cookielawinfo-checbox-analytics
11 months
This cookie is set by GDPR Cookie Consent plugin. The cookie is used to store the user consent for the cookies in the category "Analytics".
cookielawinfo-checbox-functional
11 months
The cookie is set by GDPR cookie consent to record the user consent for the cookies in the category "Functional".
cookielawinfo-checbox-others
11 months
This cookie is set by GDPR Cookie Consent plugin. The cookie is used to store the user consent for the cookies in the category "Other.
cookielawinfo-checkbox-necessary
11 months
This cookie is set by GDPR Cookie Consent plugin. The cookies is used to store the user consent for the cookies in the category "Necessary".
cookielawinfo-checkbox-performance
11 months
This cookie is set by GDPR Cookie Consent plugin. The cookie is used to store the user consent for the cookies in the category "Performance".
viewed_cookie_policy
11 months
The cookie is set by the GDPR Cookie Consent plugin and is used to store whether or not user has consented to the use of cookies. It does not store any personal data.
Functional cookies help to perform certain functionalities like sharing the content of the website on social media platforms, collect feedbacks, and other third-party features.
Performance cookies are used to understand and analyze the key performance indexes of the website which helps in delivering a better user experience for the visitors.
Analytical cookies are used to understand how visitors interact with the website. These cookies help provide information on metrics the number of visitors, bounce rate, traffic source, etc.
Advertisement cookies are used to provide visitors with relevant ads and marketing campaigns. These cookies track visitors across websites and collect information to provide customized ads.