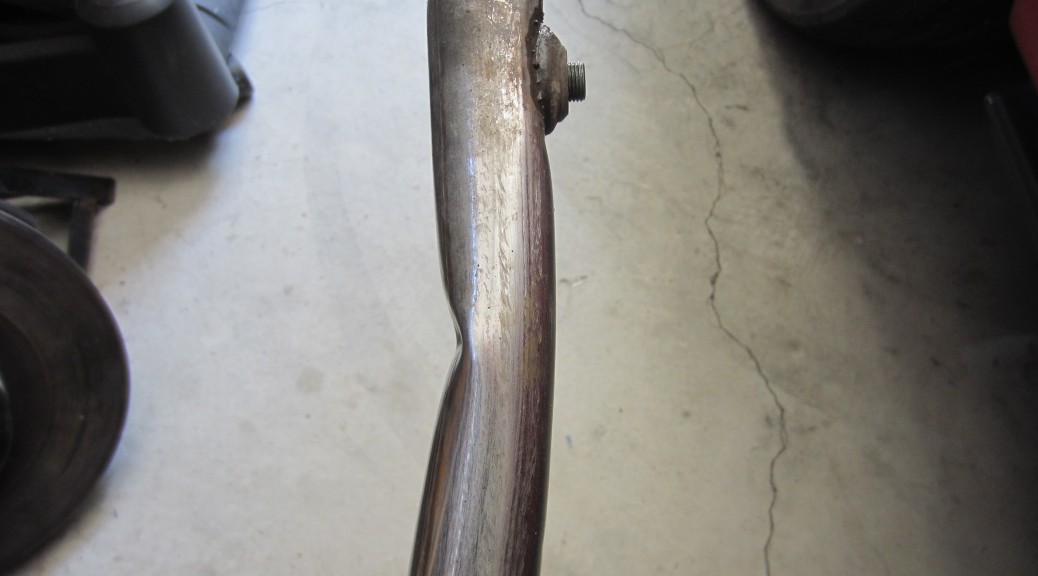
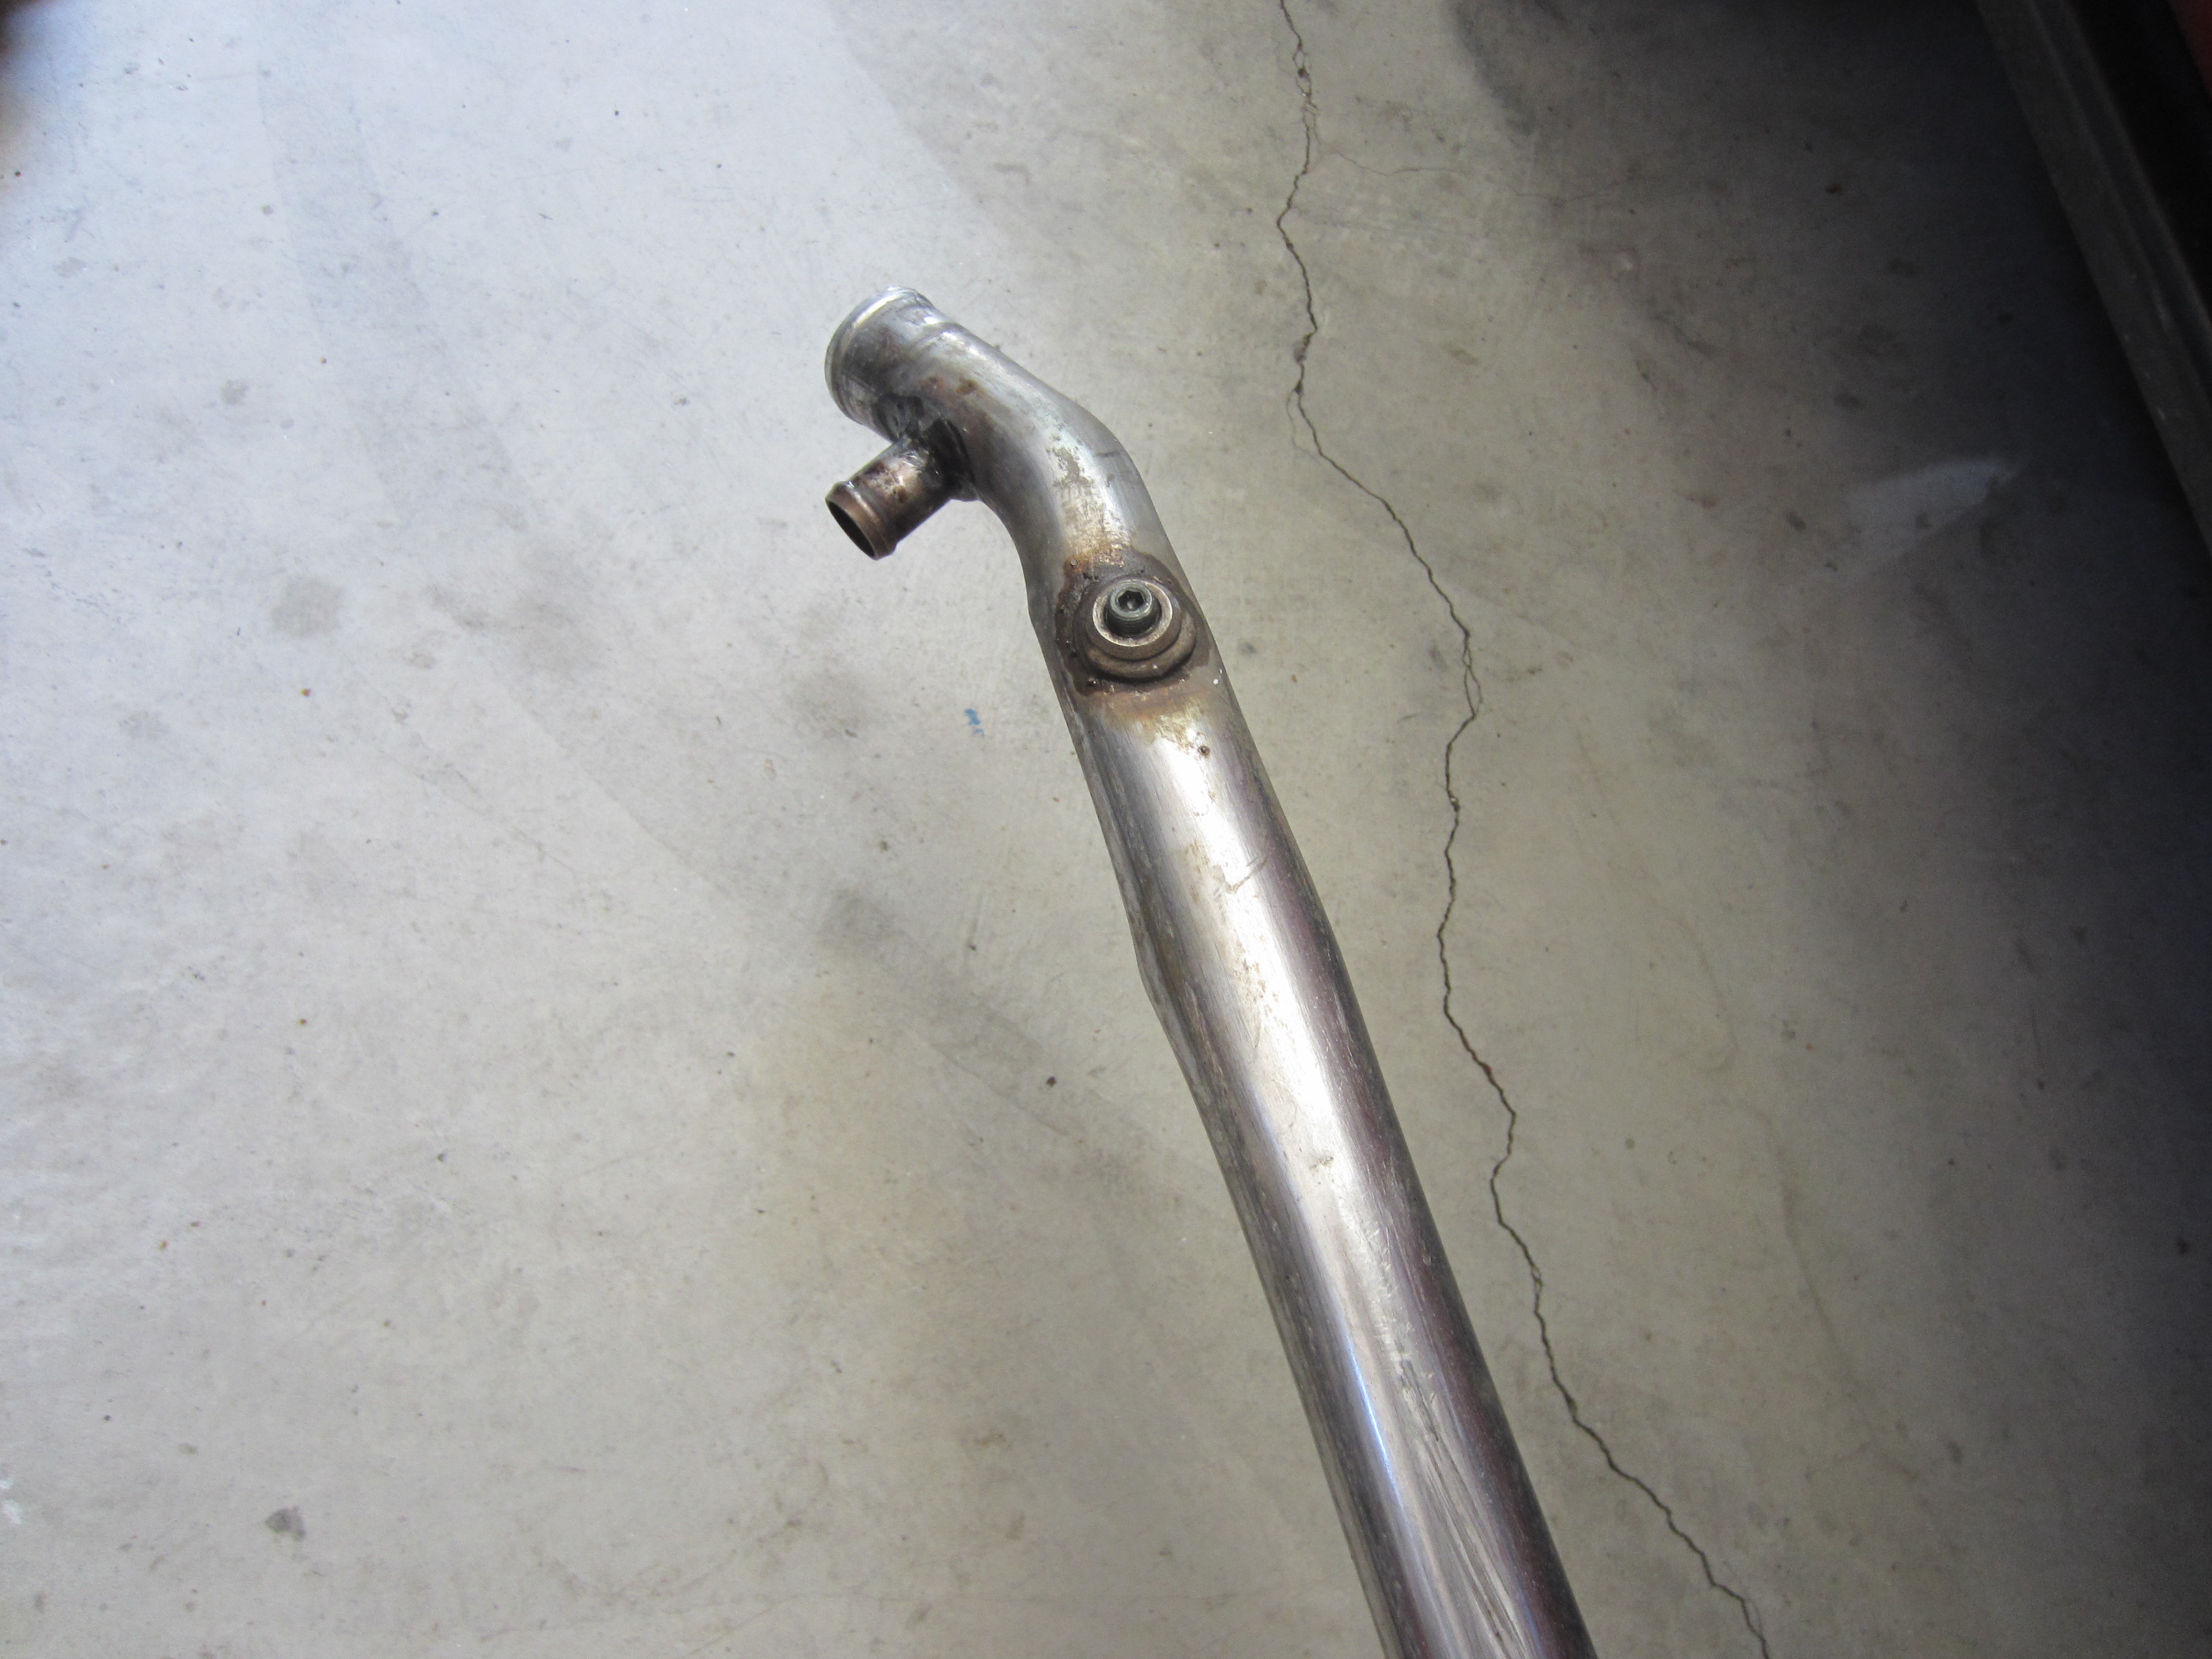
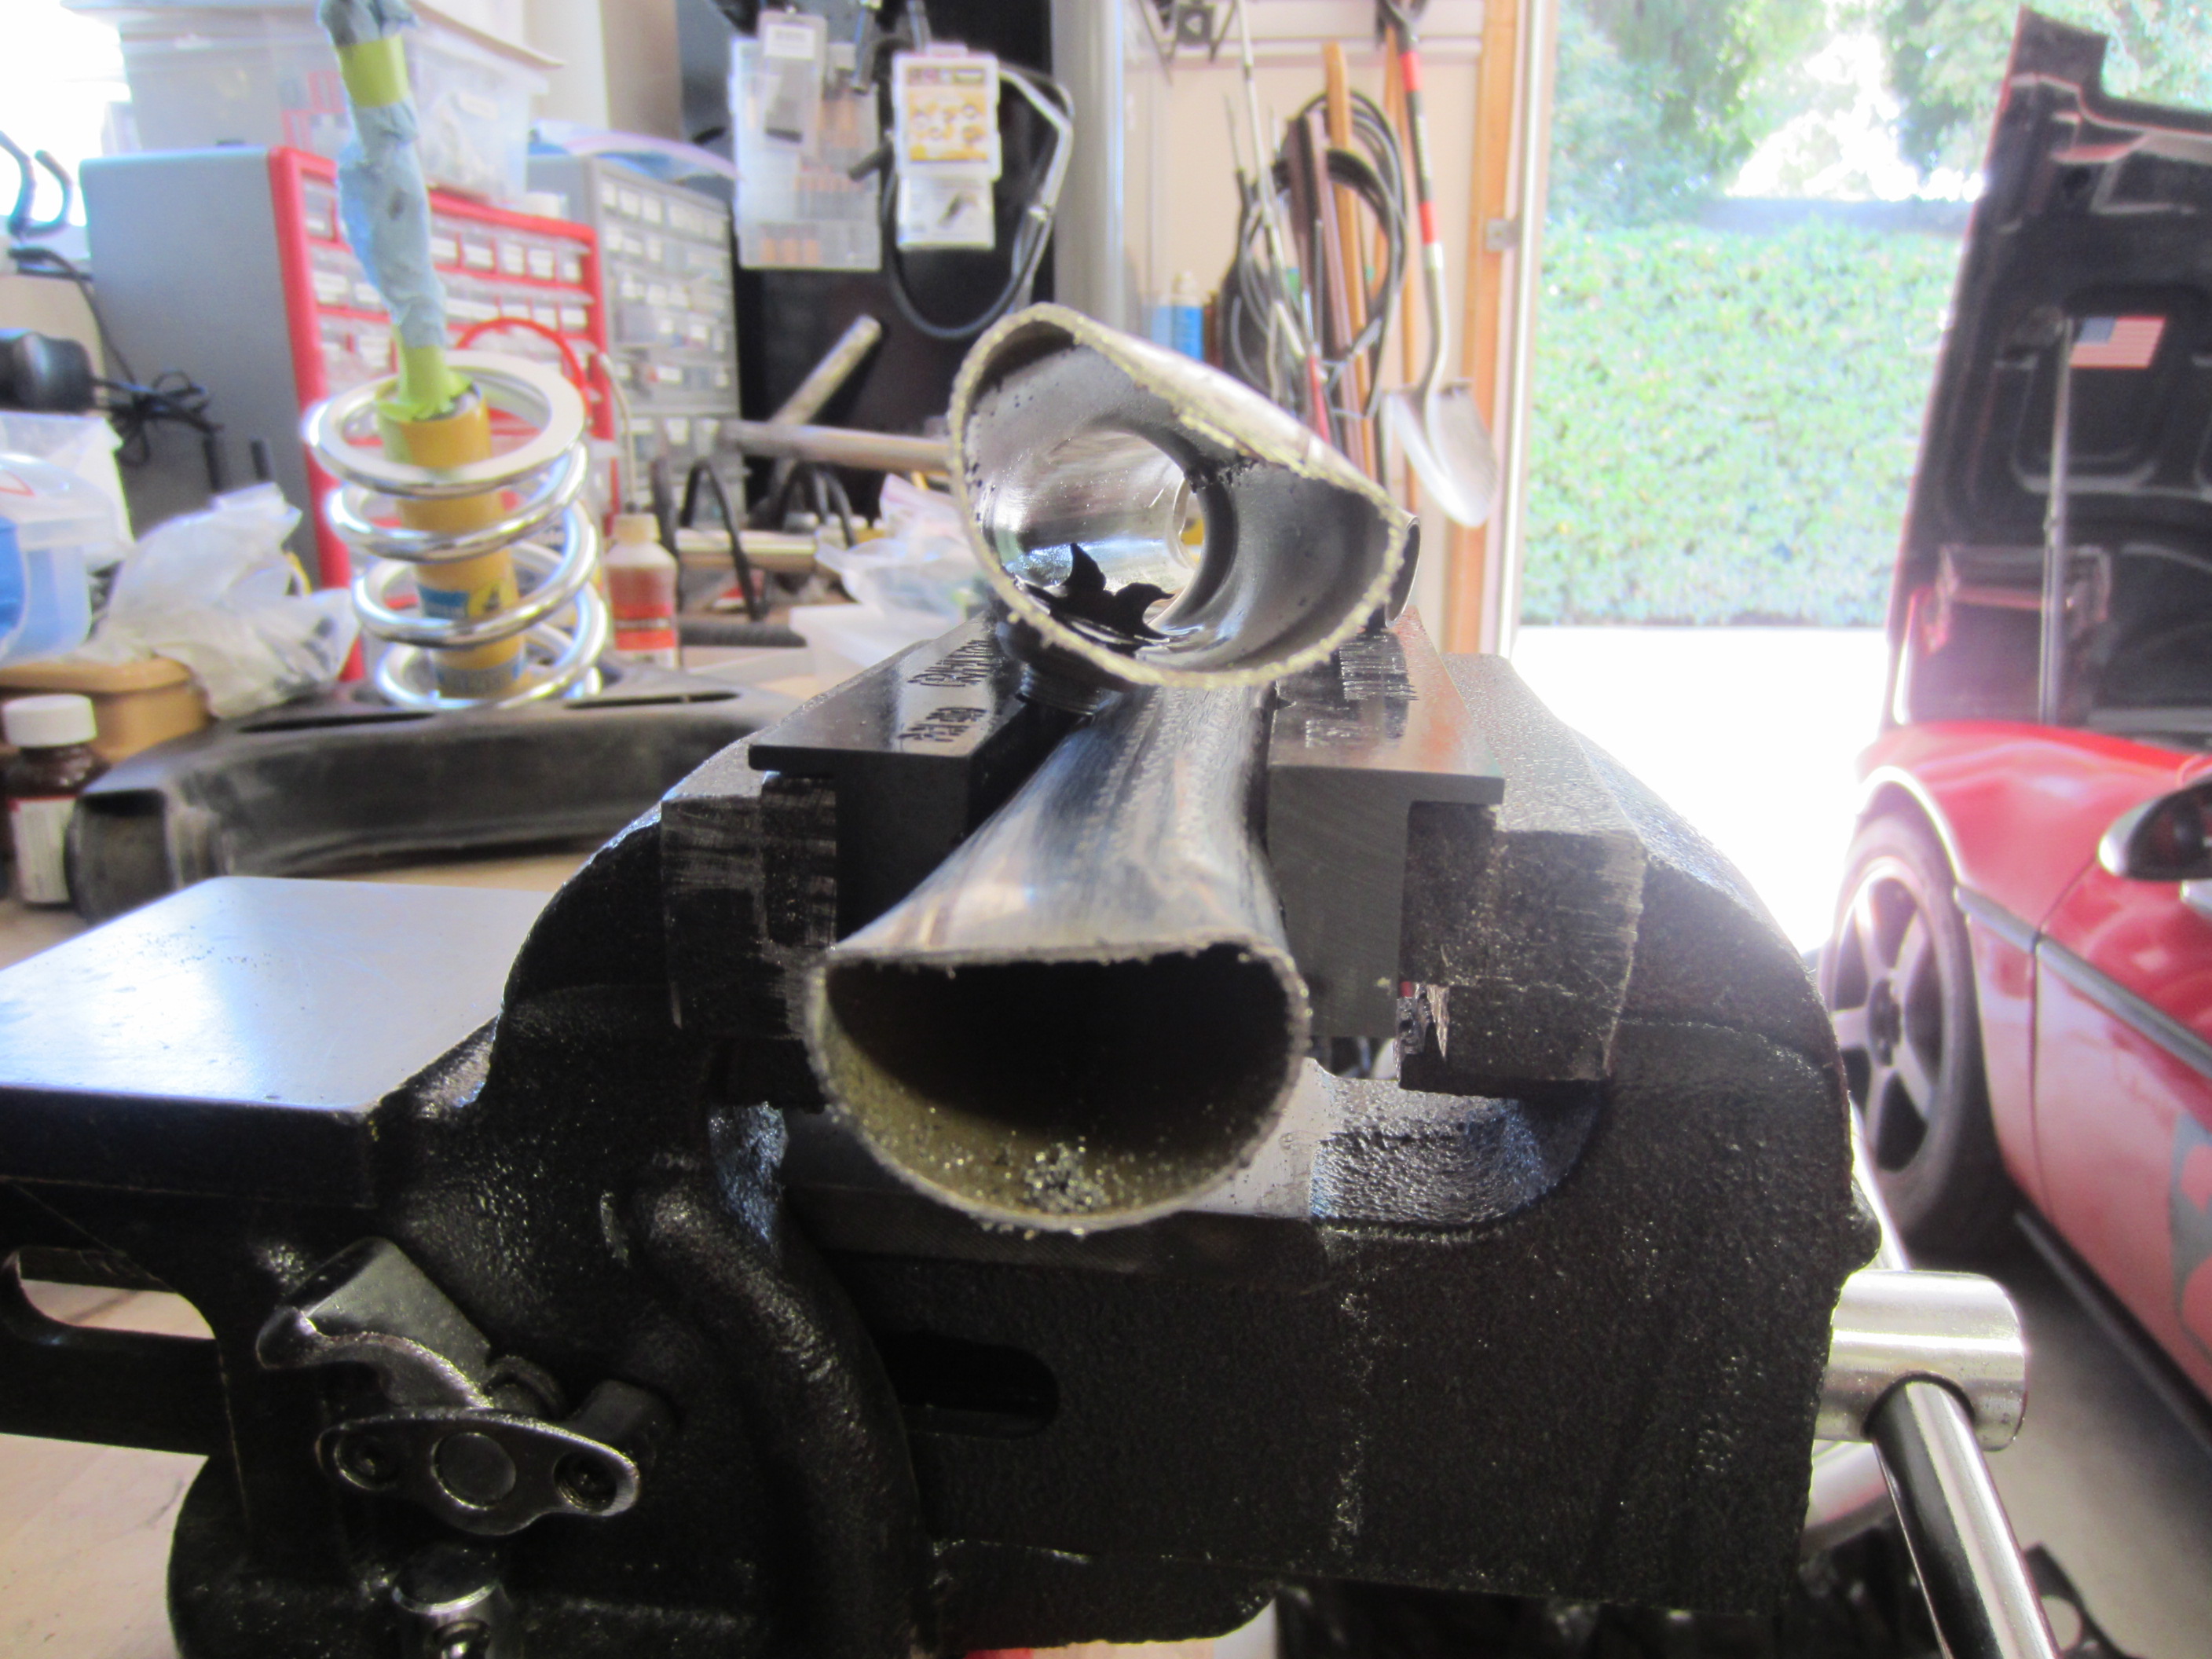
With its mid-engine layout, the Fiero needs to shuttle coolant from the rear to the front of the car, where the radiator is located. The coolant flows through tubes located just inboard of the rocker panels. Since this is a common location for modern cars to be lifted for maintenance and repair, shops often damage the coolant tubes by using them as jackpoints. All it takes is one careless mechanic or tire shop employee to crush the pipes and render the cooling system ineffective.
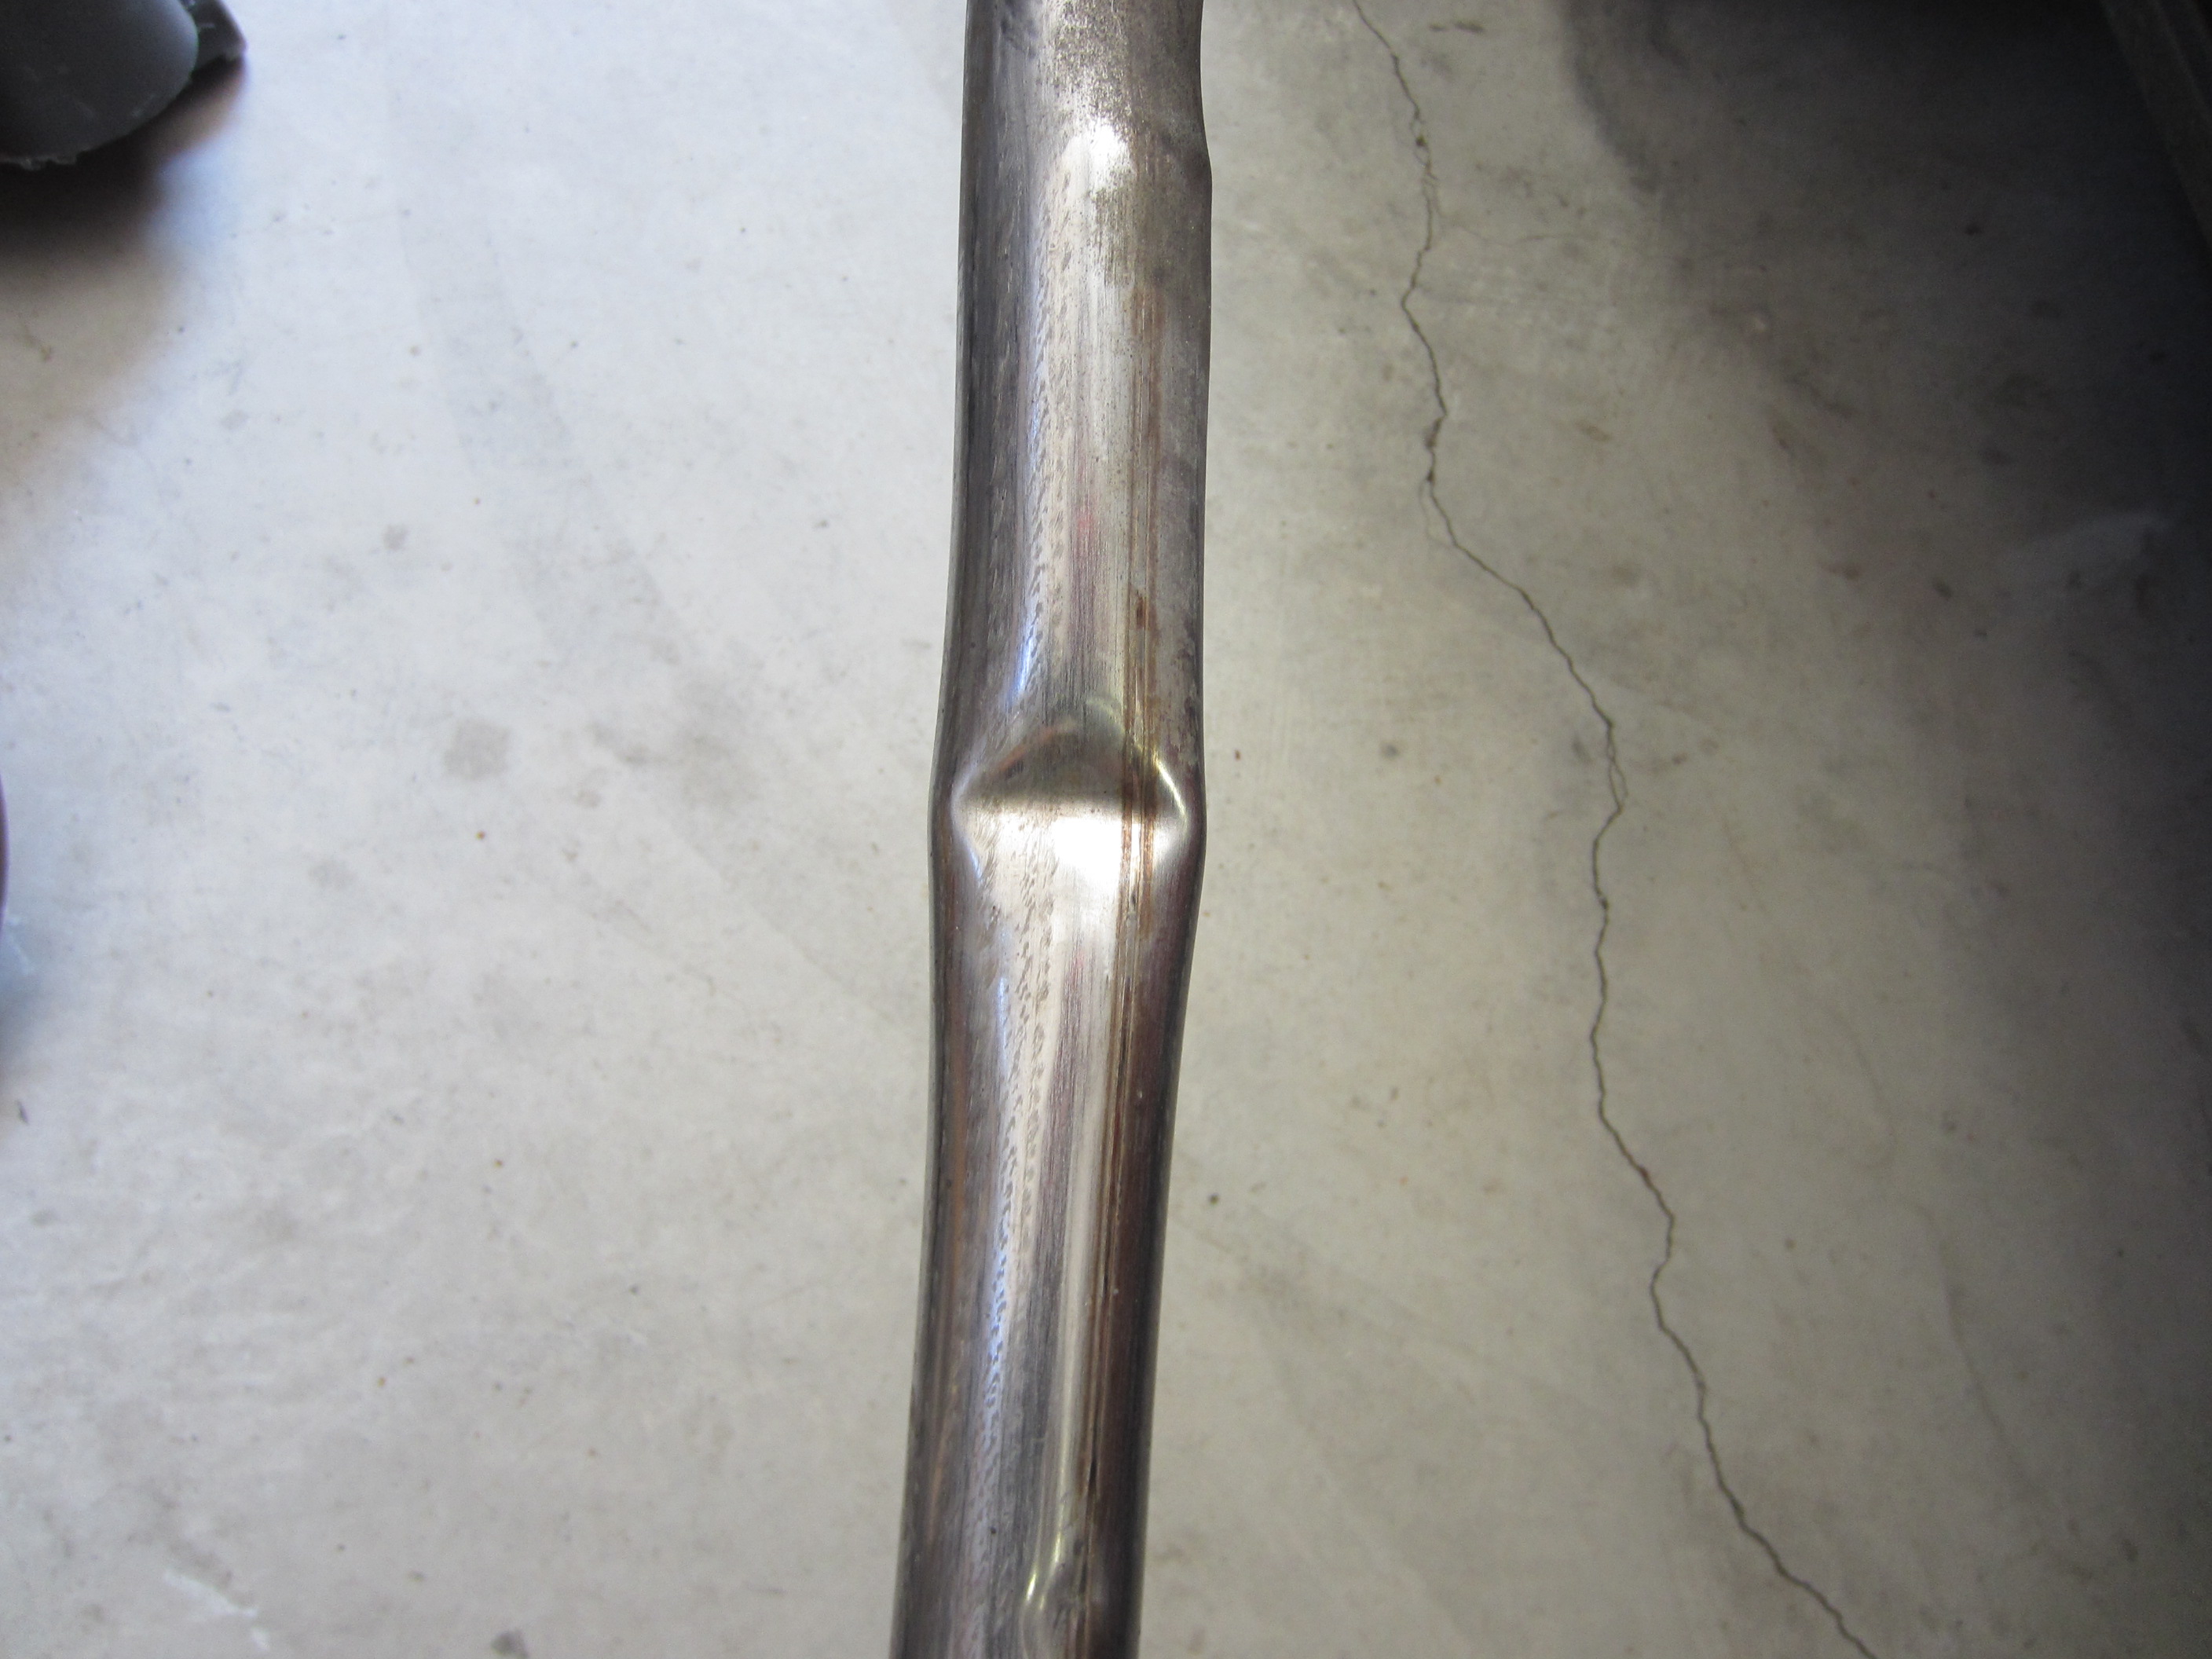
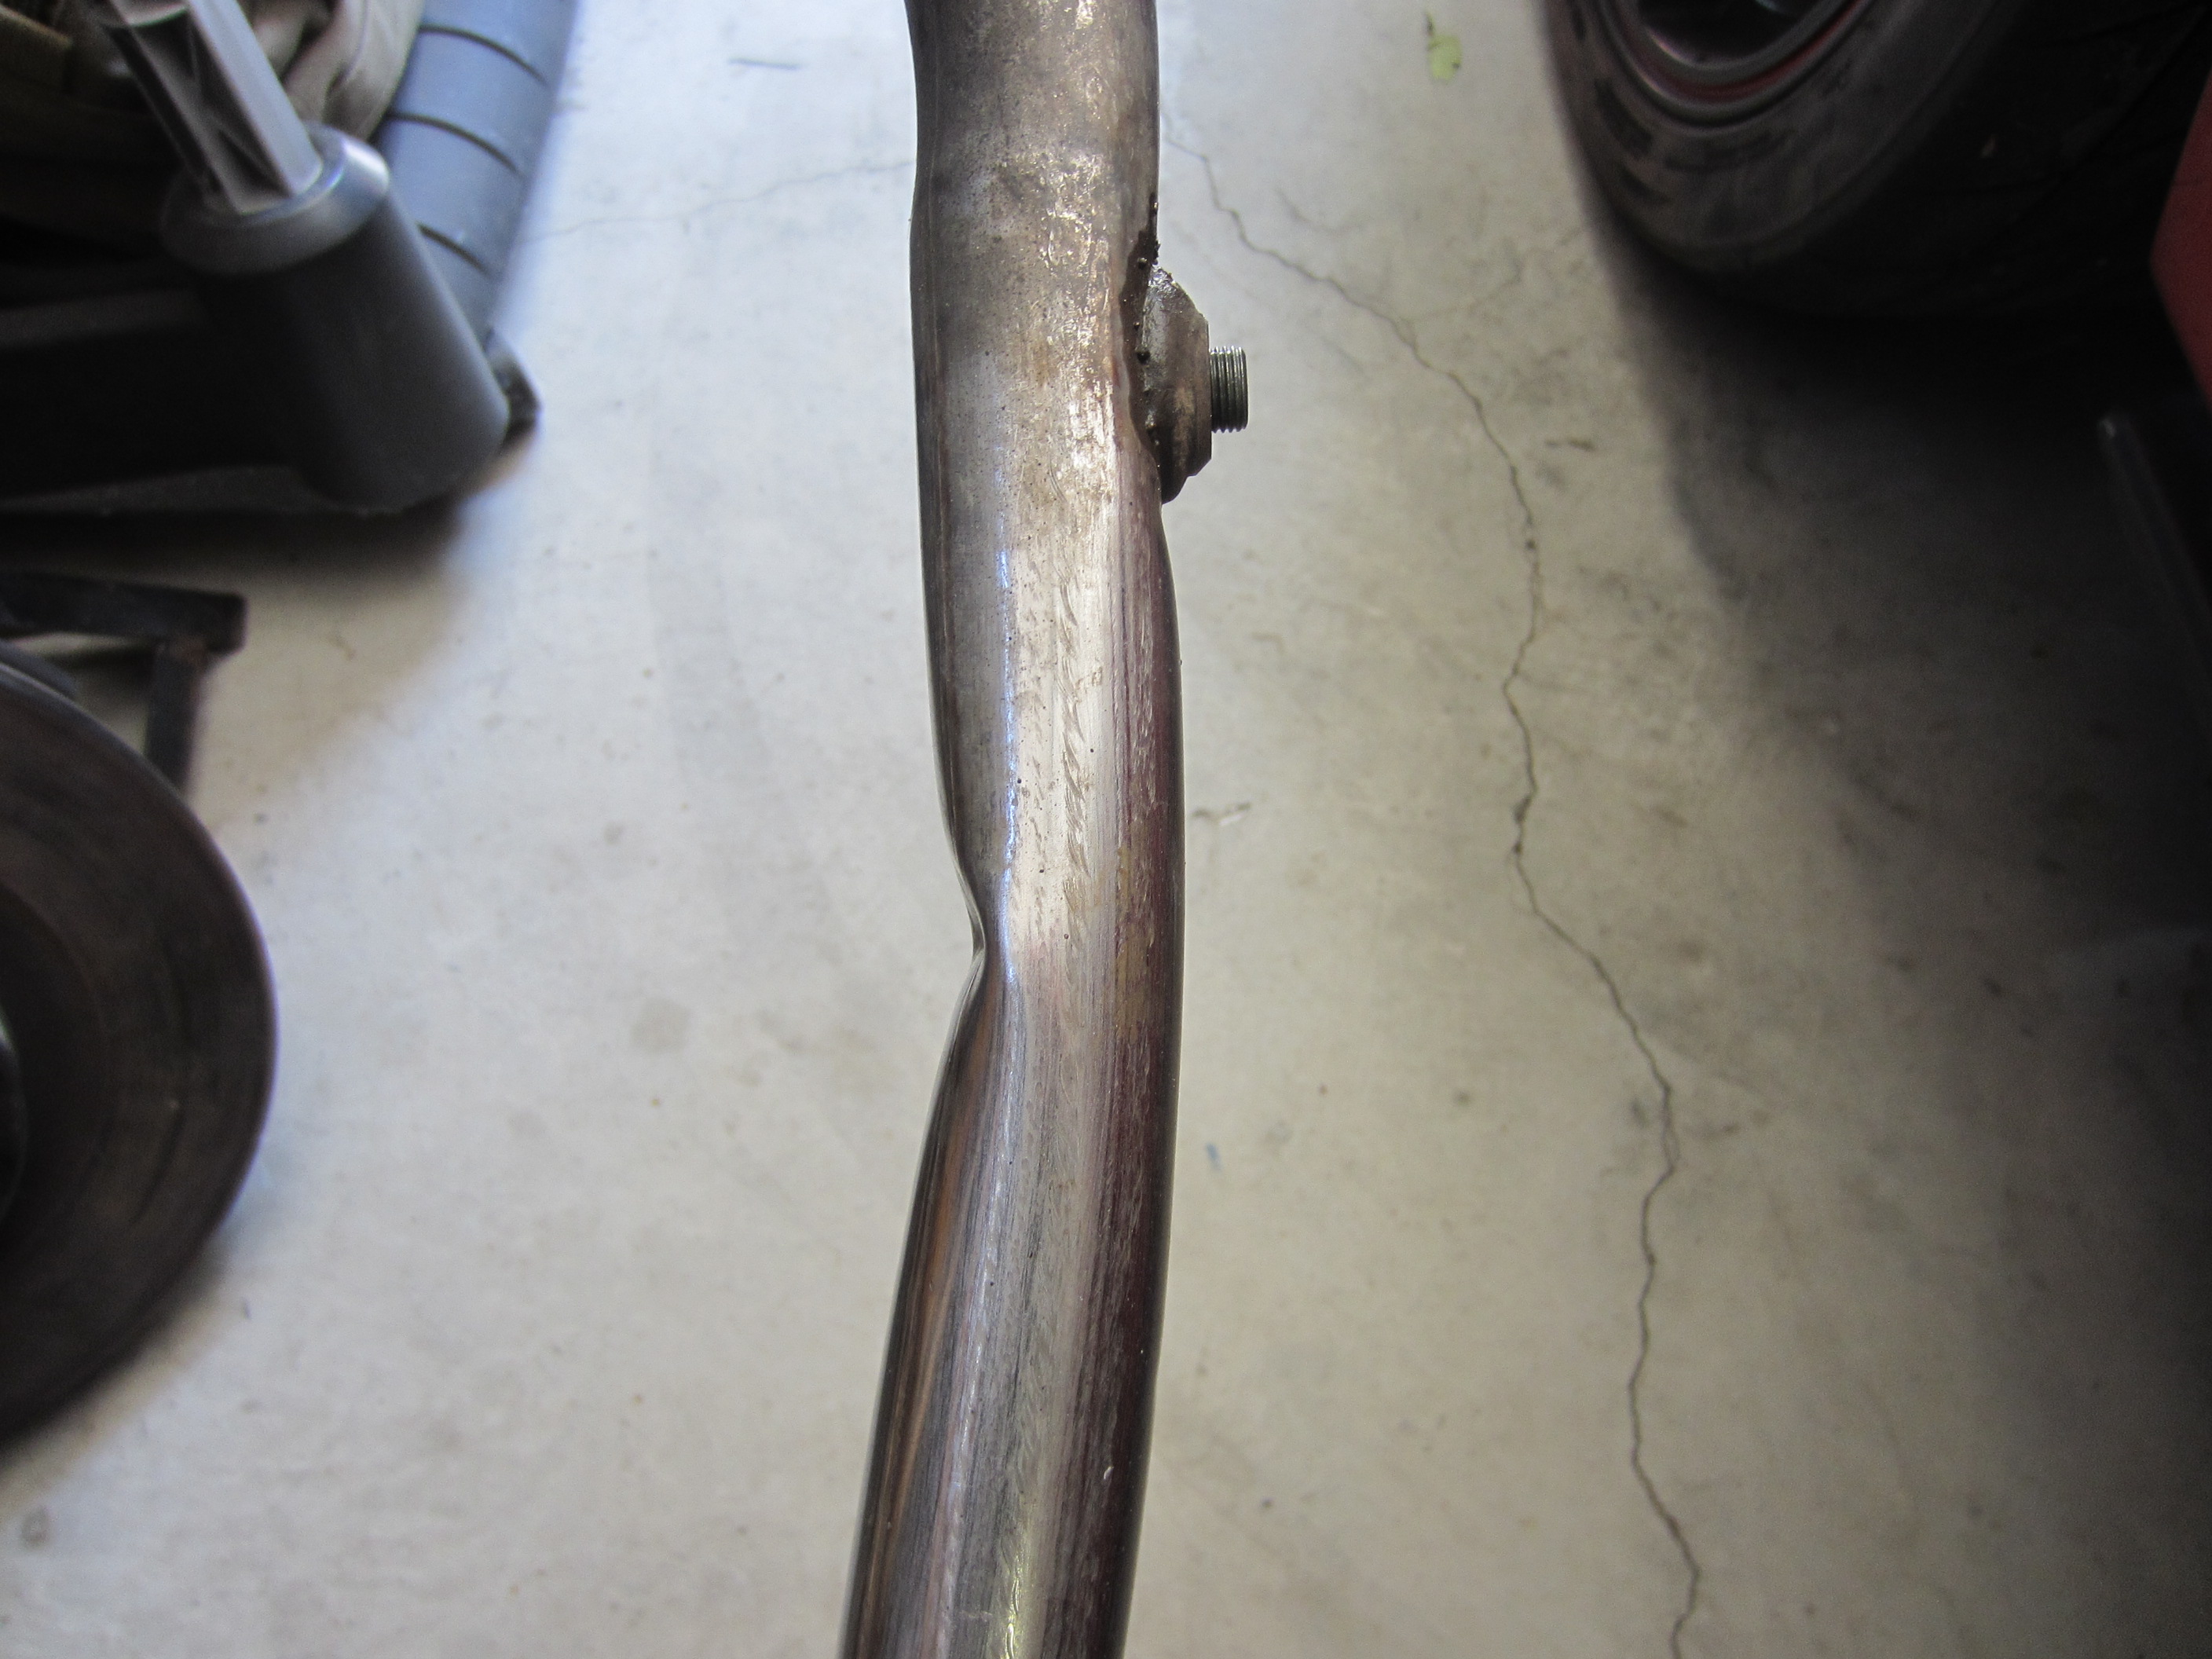
The damage is often hidden, as shown below:
Replacement coolant tubes for the 1984 to 1987 Fieros are available from The Fiero Store. However, they are expensive, and tubes for 1988 Fieros are not available.
With access to a welder, it’s possible to repair kinked/crushed tubing.
First, cut the tubing at the narrowest part of the kink. A hacksaw will make quick work of the thin stainless steel tubing.
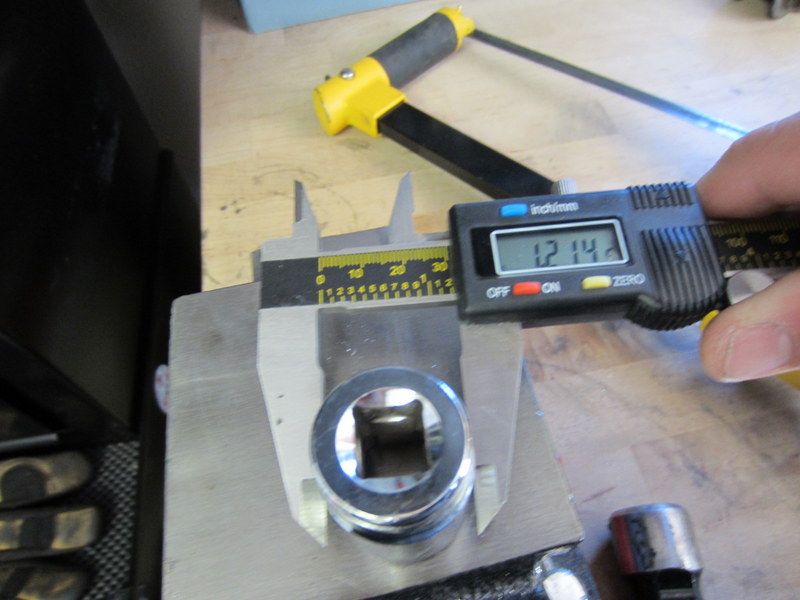
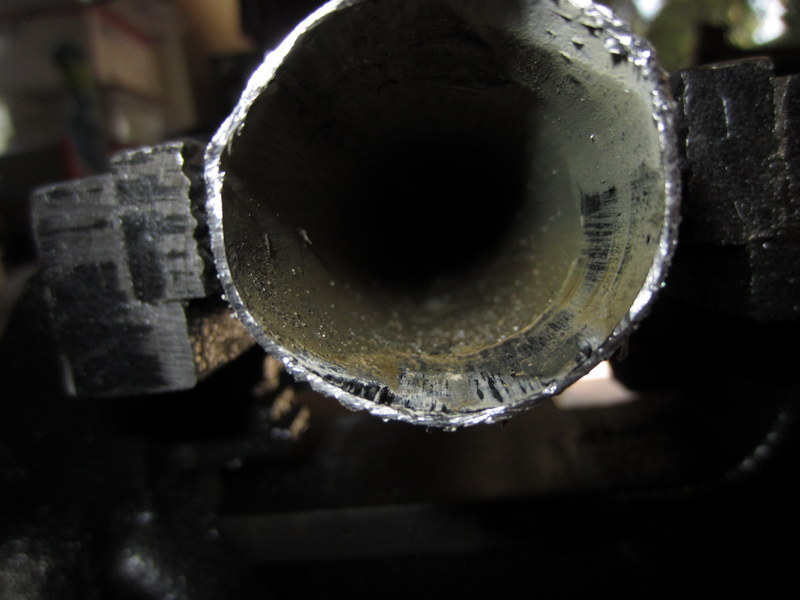
When not suffering from damage, the coolant tube should have an inner diameter of ~1.236″. A socket with approximately the same outer diameter can be used as a mandrel to bend the tube back into shape.
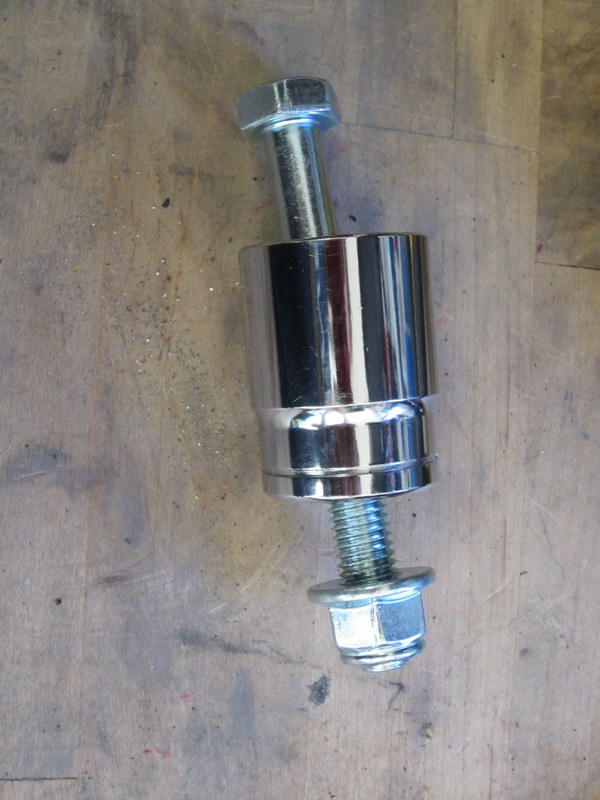
To facilitate removal, insert a long bolt through the drive hole in the socket. Later, a slide hammer can be used to remove the socket.
It may be necessary to bend the coolant tube with pliers or a vice to make room for the stepped smaller diameter of the socket.
It will be necessary to secure the coolant tube in a vice to prevent it from moving while knocking the socket into the tube.
After making the small diameter of the socket fit by bending the tube with pliers or the vice, carefully hammer the socket evenly into the tube. Make sure to wear safety glasses! The chrome plating of the socket or the hammer itself may chip. Using a piece of wood to drive the socket is also a good idea, as it can help prevent the hammer and socket from chipping, and help distribute load.
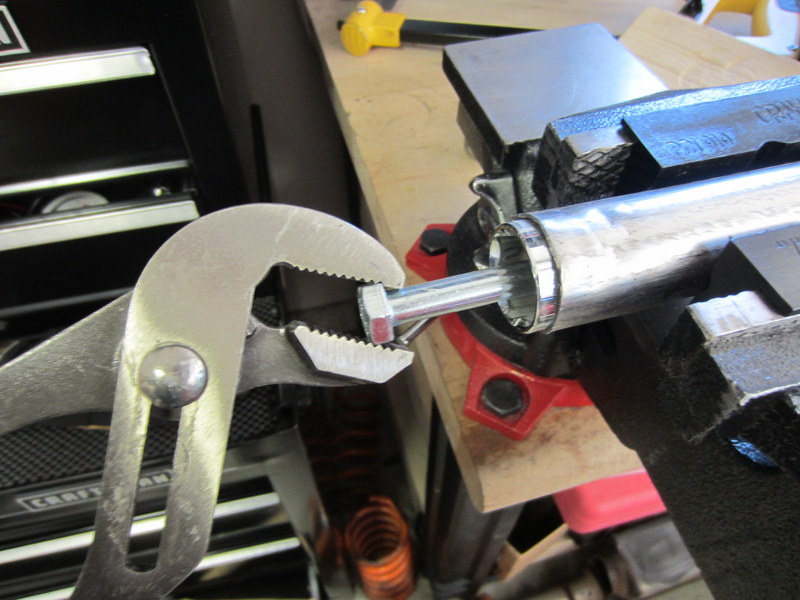
After the socket is fully inserted into the tubing, remove it using a slide hammer or channel locks (see photo below).
Repeat the socket-reshaping procedure described above fro the other piece of the cut tube.
Finally, prepare the tube for welding by sanding the inside and outside, and grind or deburr the faces if necessary to get the best fit.

If you don’t have access to a welder, a muffler shop should be able to weld the tube back together. Make sure they know it’s stainless steel, and tell them to line up the welded seam of the tubing.